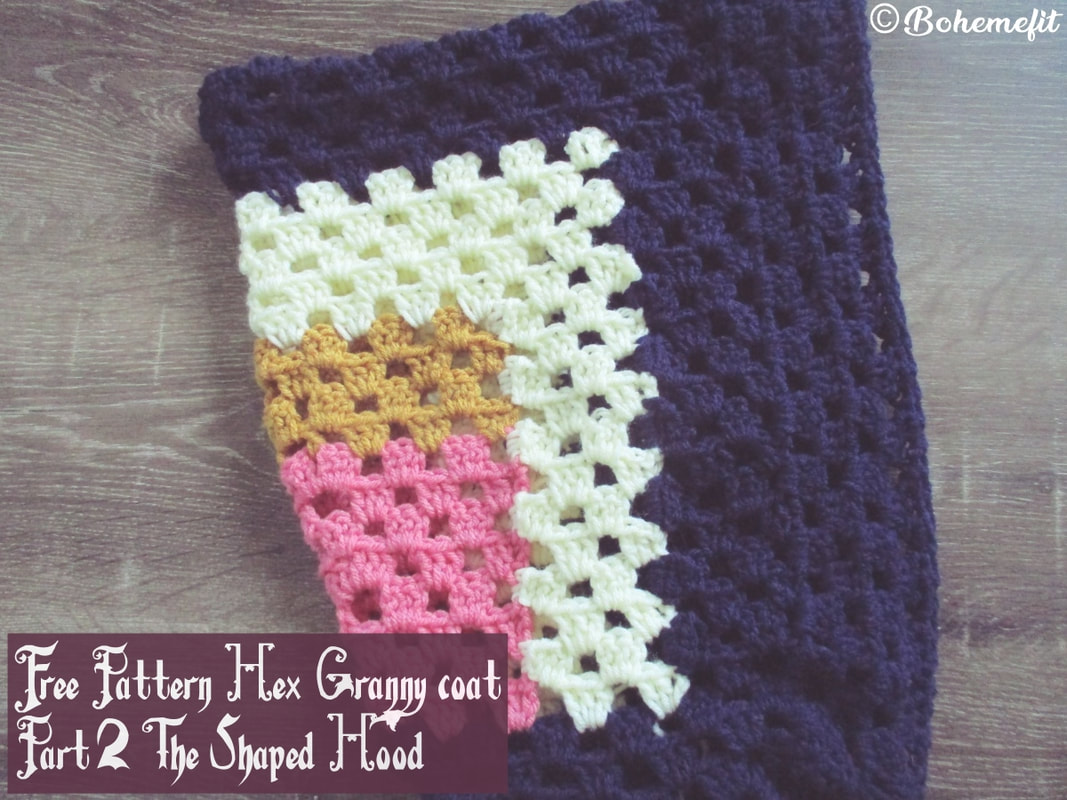
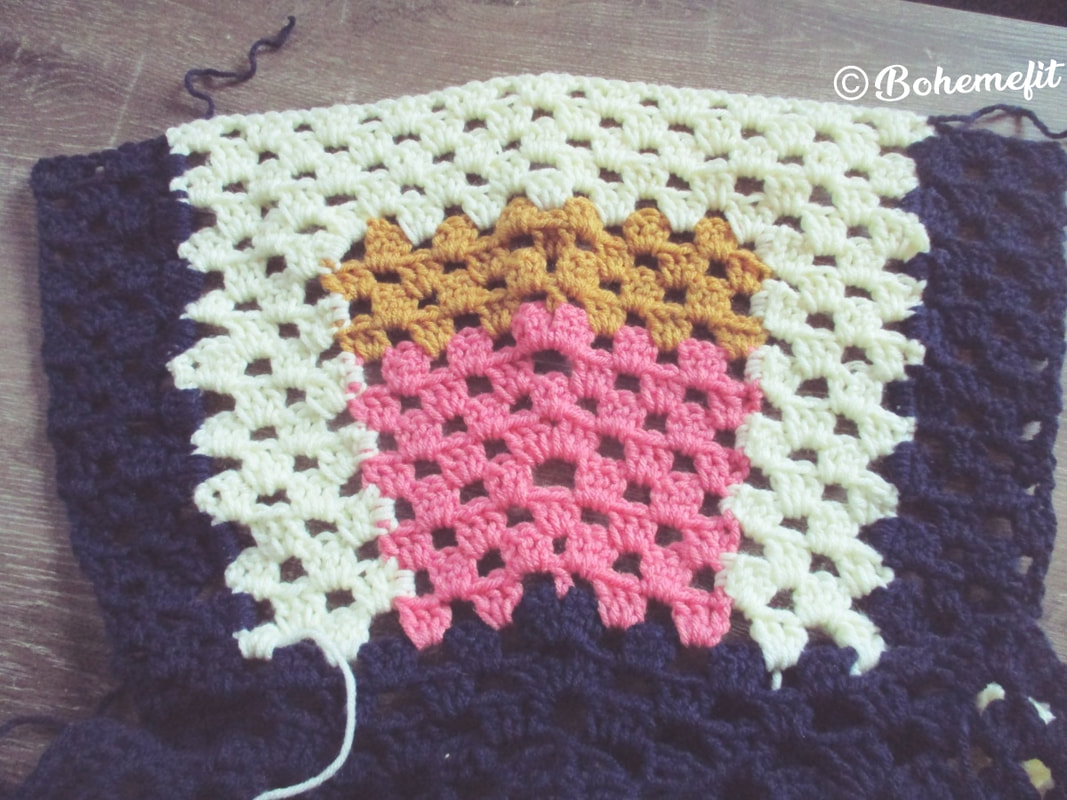
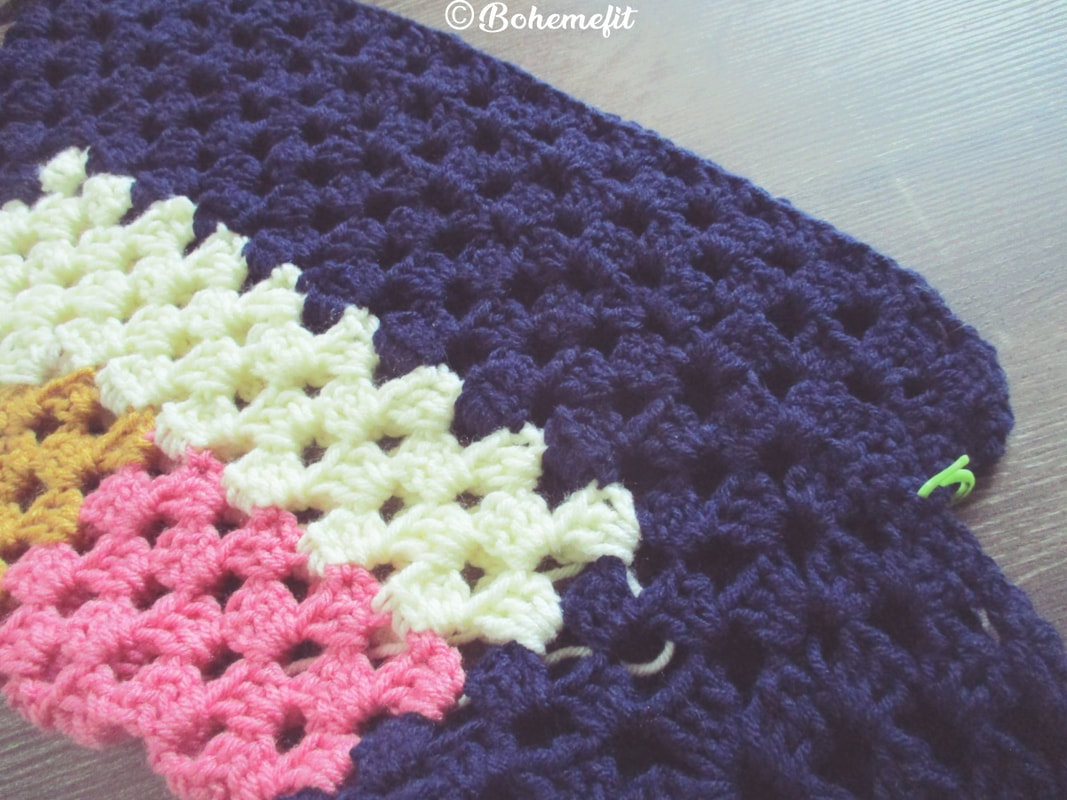
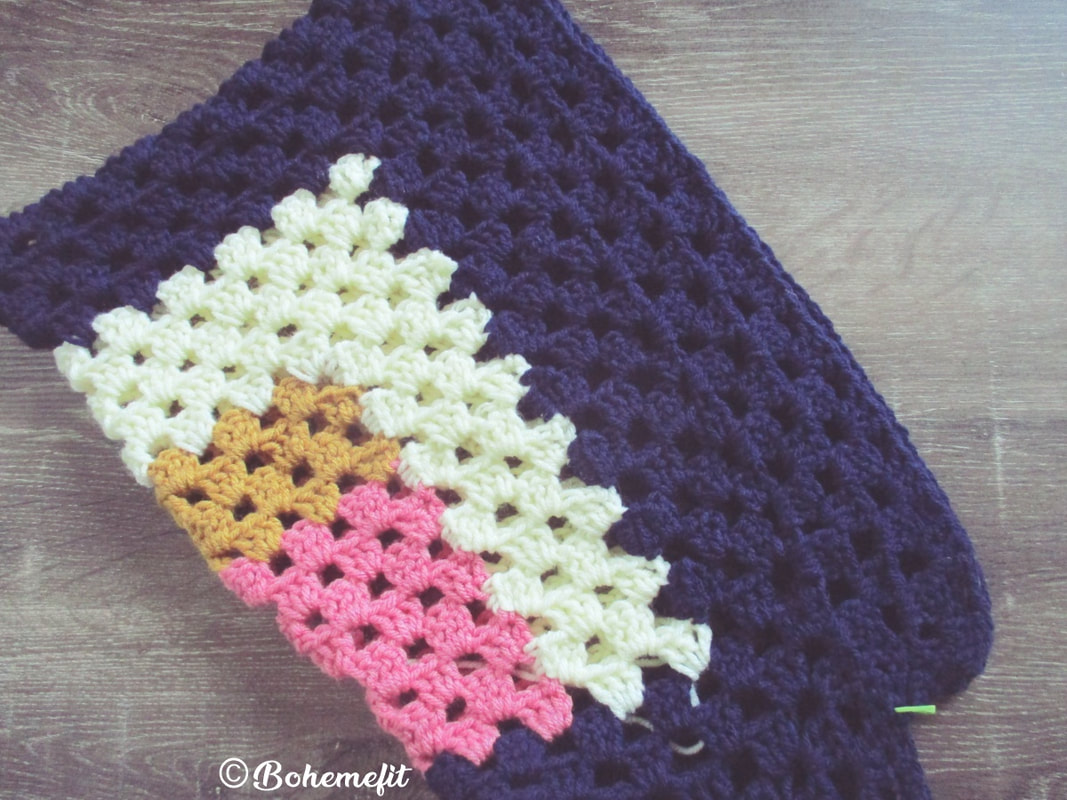
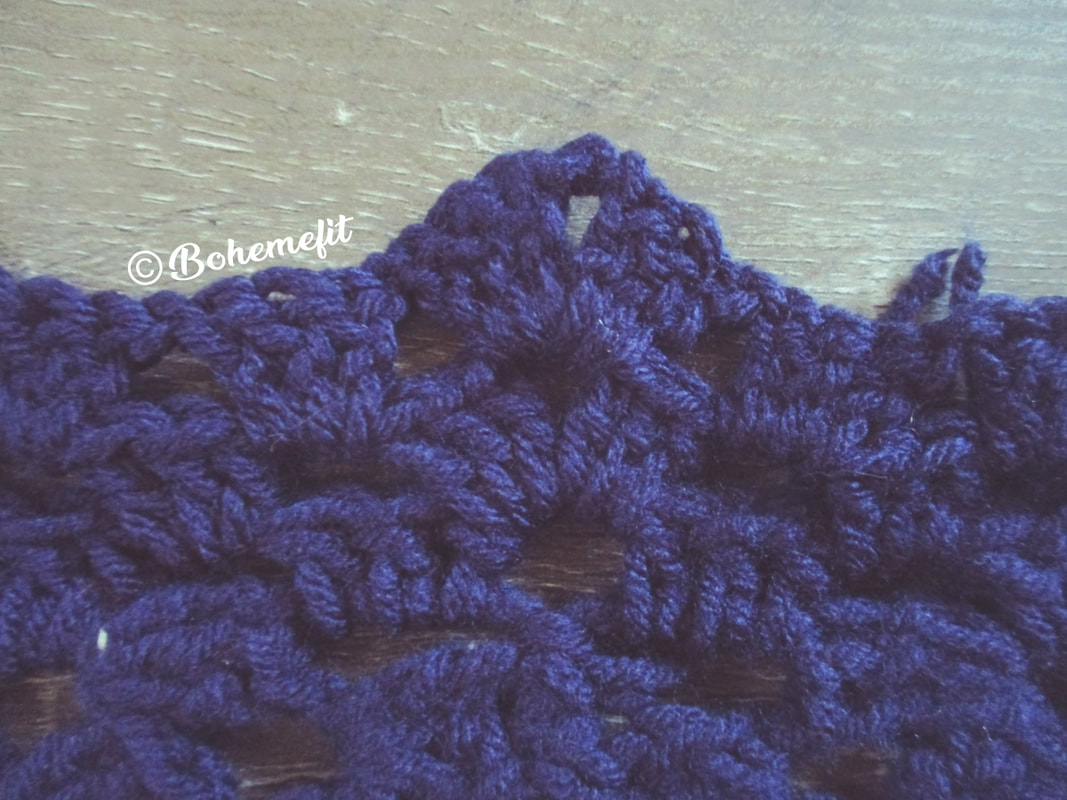
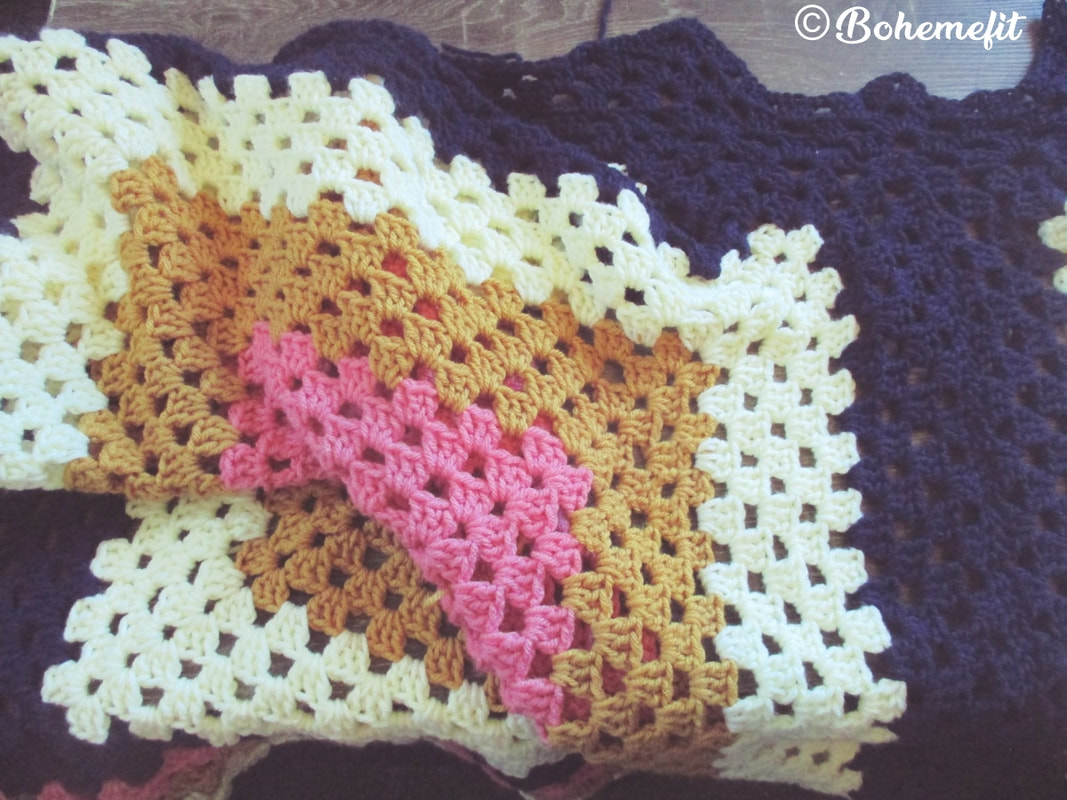
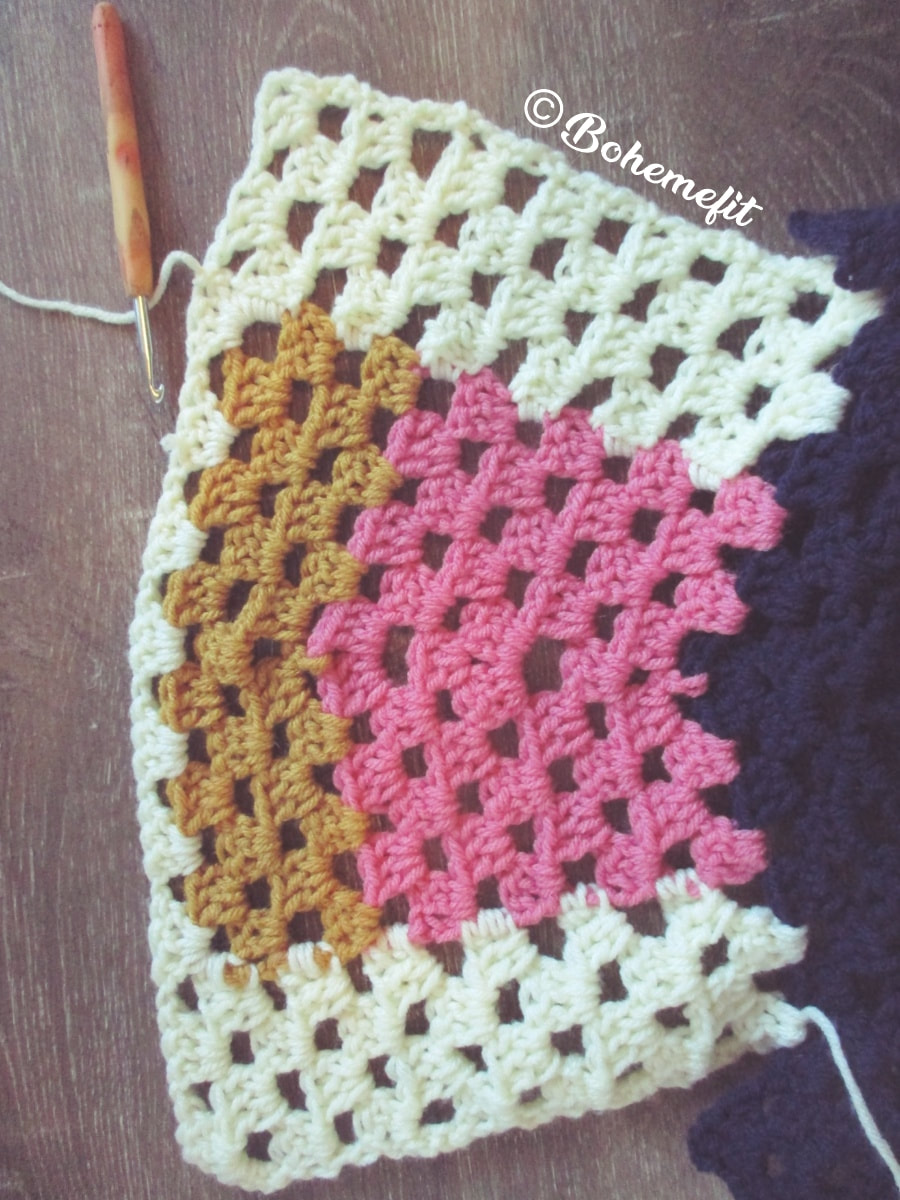
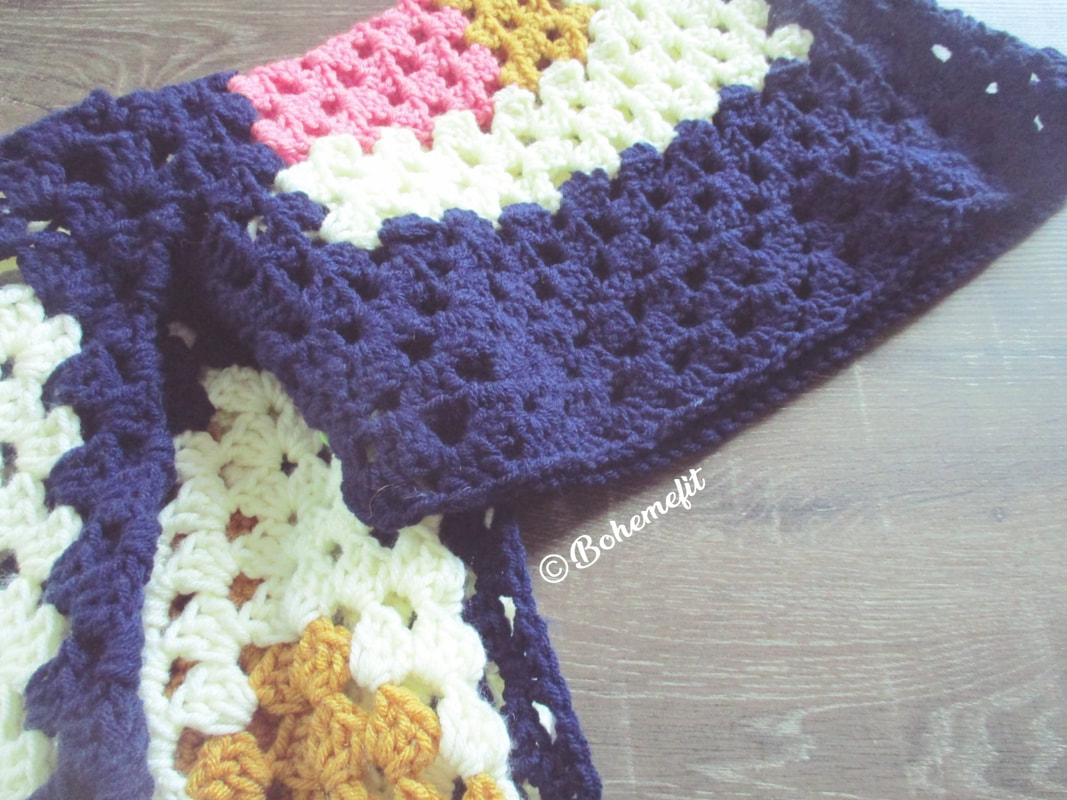
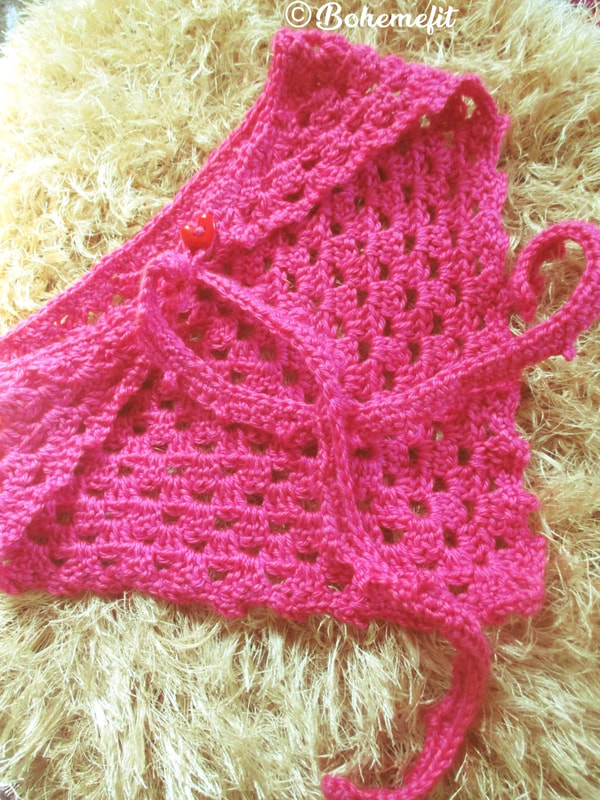
 A shapely Hood continued off the collar of the heavy & warm 'Hex Coat that has a better sleeve to torso ratio'. Please Note: This is my first Hexagon Granny Coat and that I will tweak the second time round with a different colorway, at some point. The CAL Parts
Materials RecapMedium weight garn in:
Tools Recap
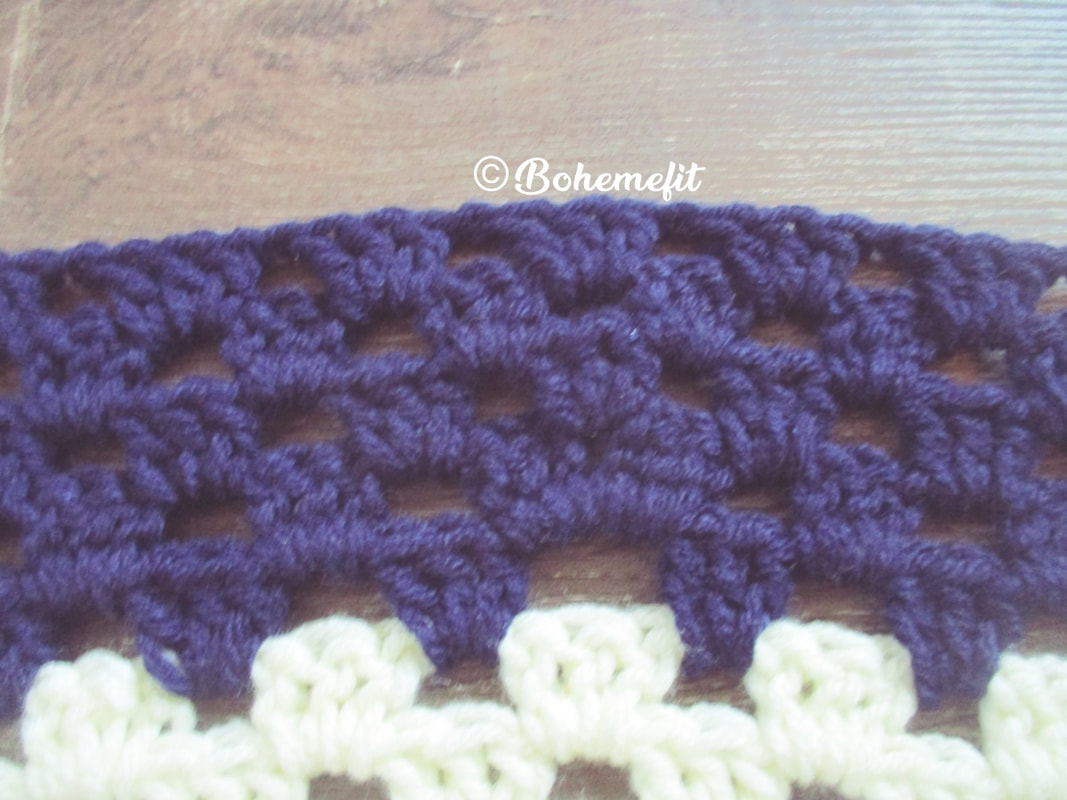
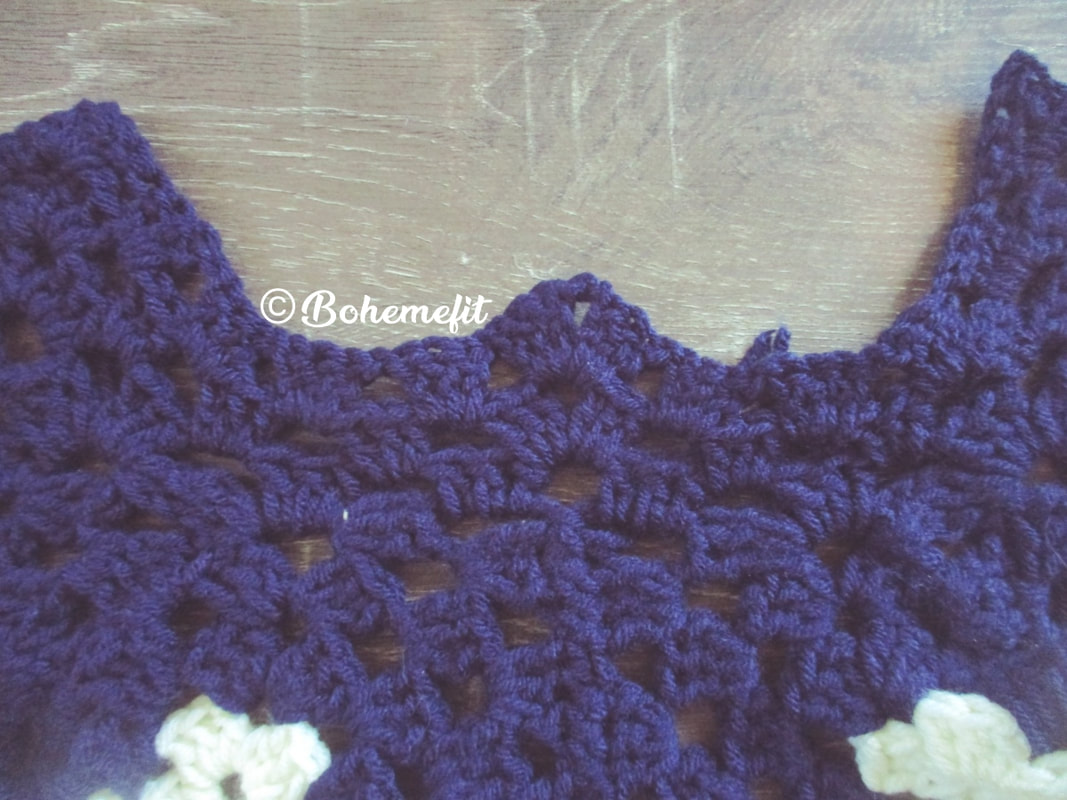
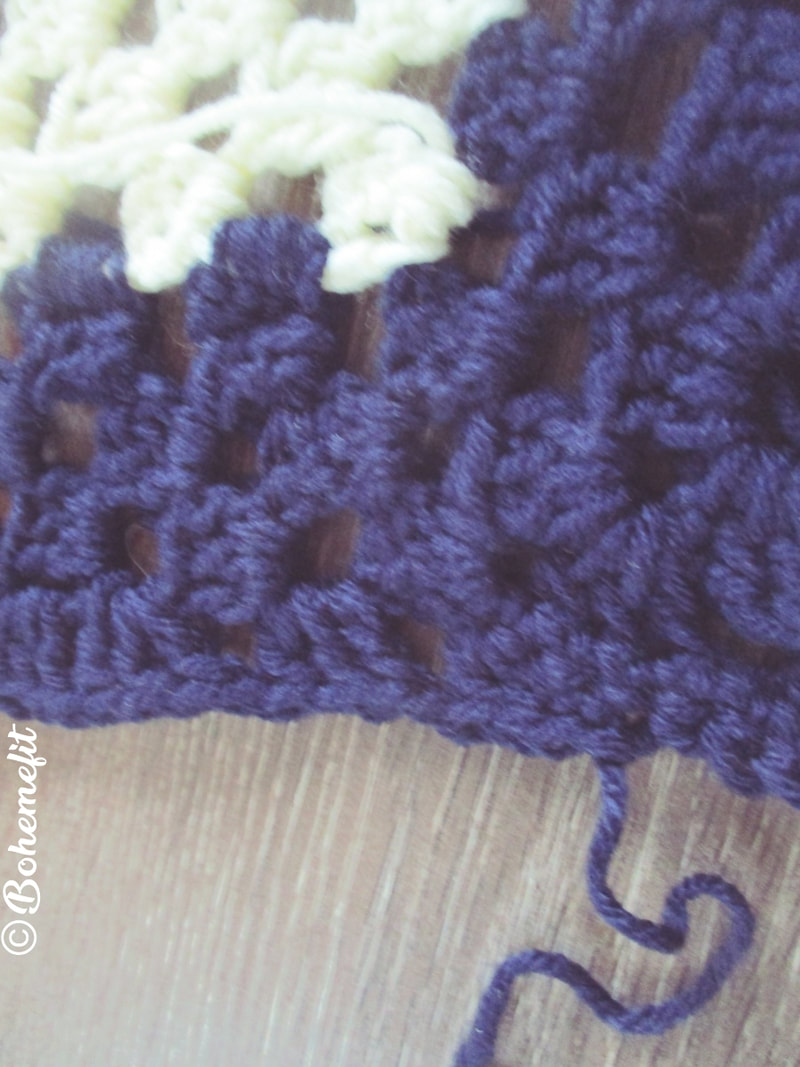
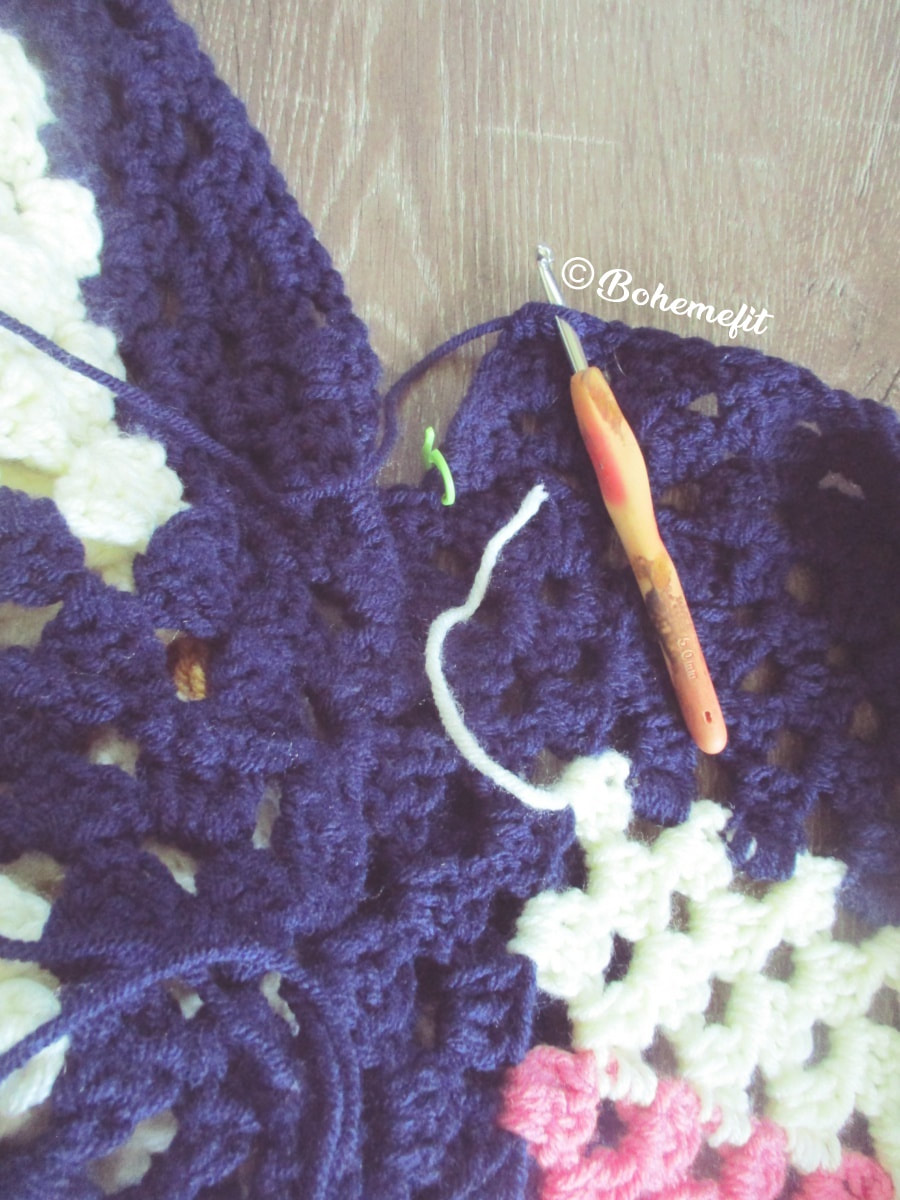
MethodNeckline Increase in NavyStarting at the top of the collars left tip work with clusters of 3dc, ch 1 with added center increase or adjustment where stated. Where there is no ch space but clusters at beg or end of rounds ch3 to act as a dc/ch1. Turn over wrong side each time a row has been completed. Neckline Rows; 1) Cluster Row with a dc3, ch2, dc3 in the center ch 1 space of the previous row 2) Cluster Row with a dc3, ch2, dc3 in the center ch 2 space of the previous row 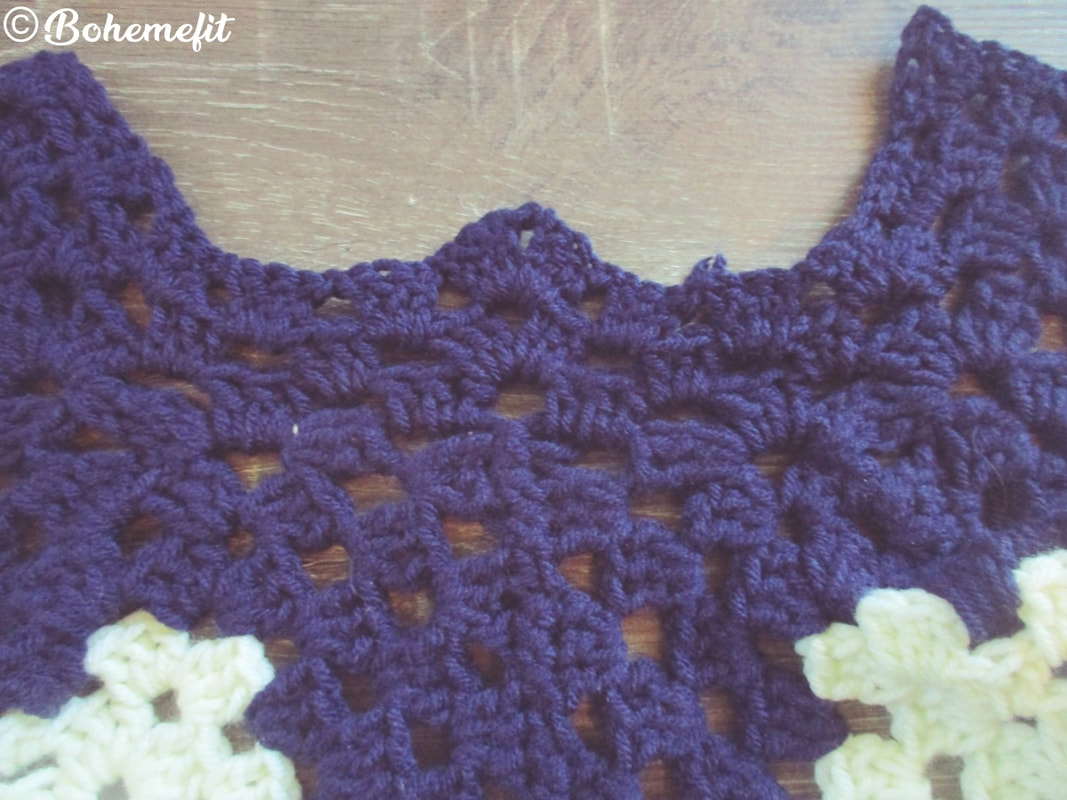
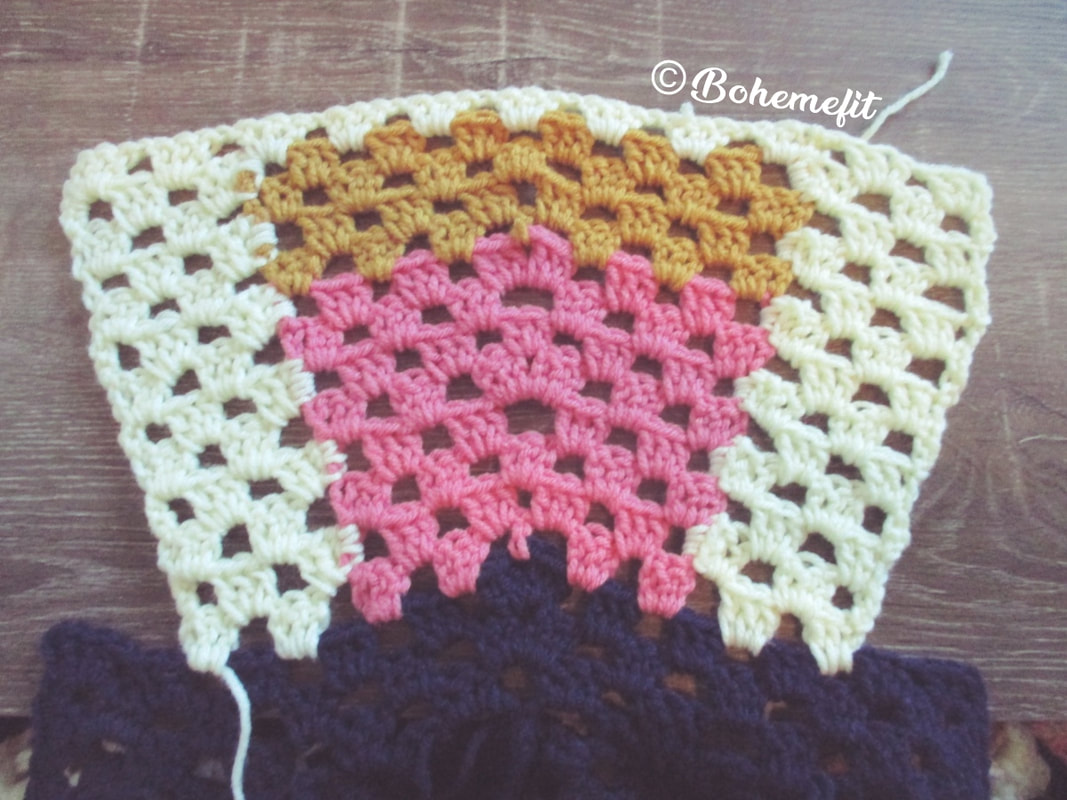
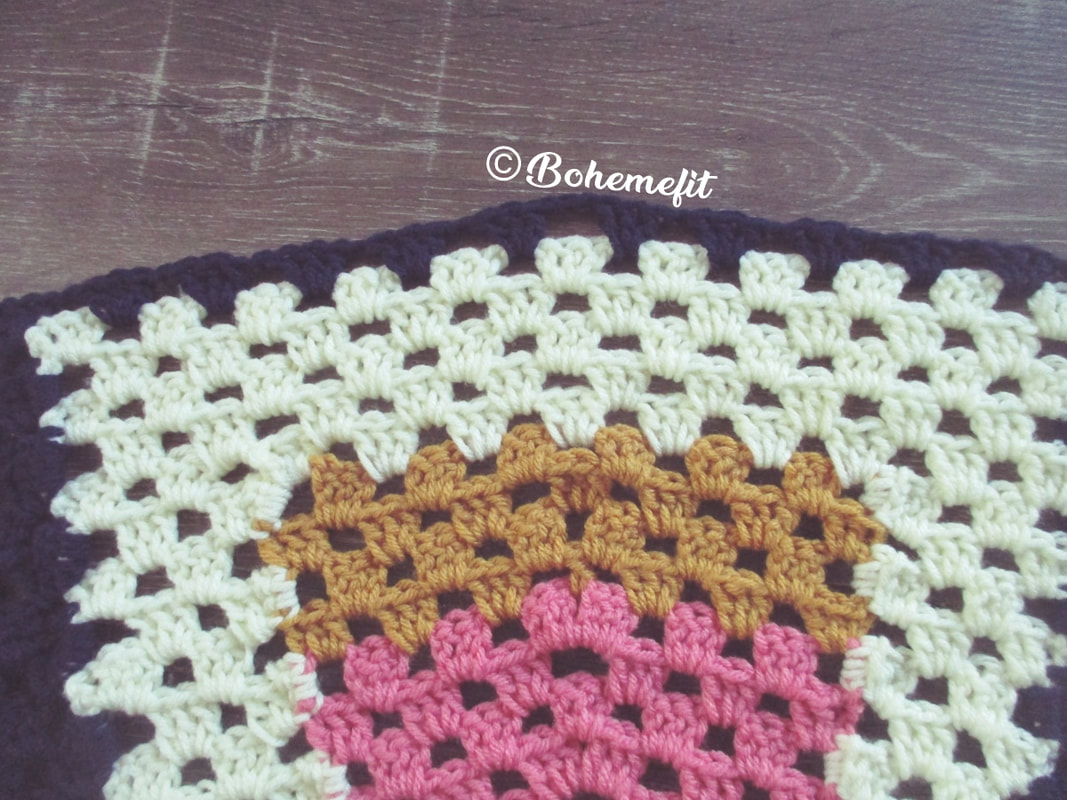
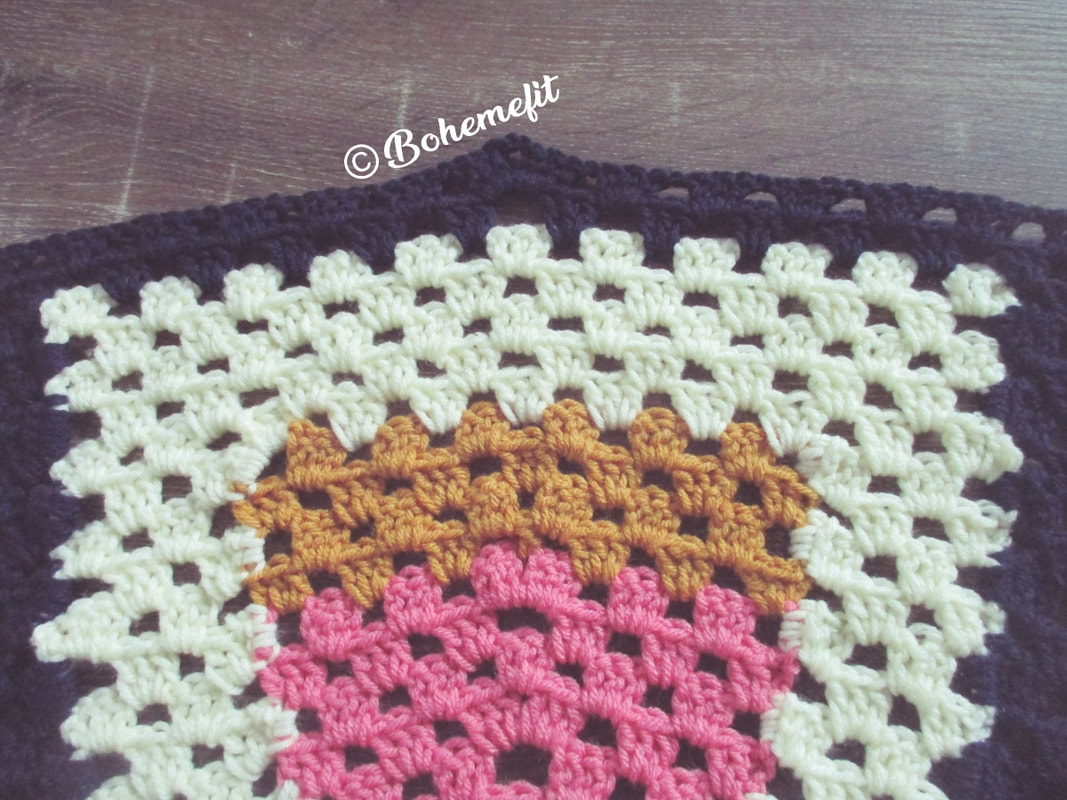
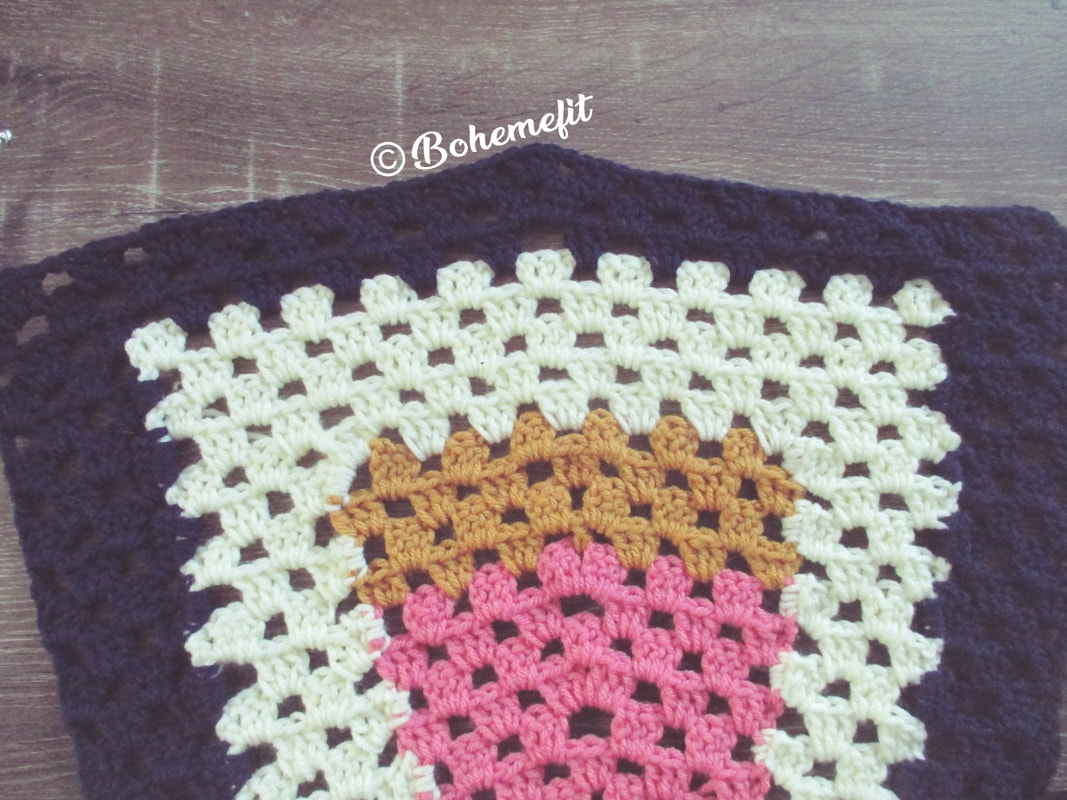
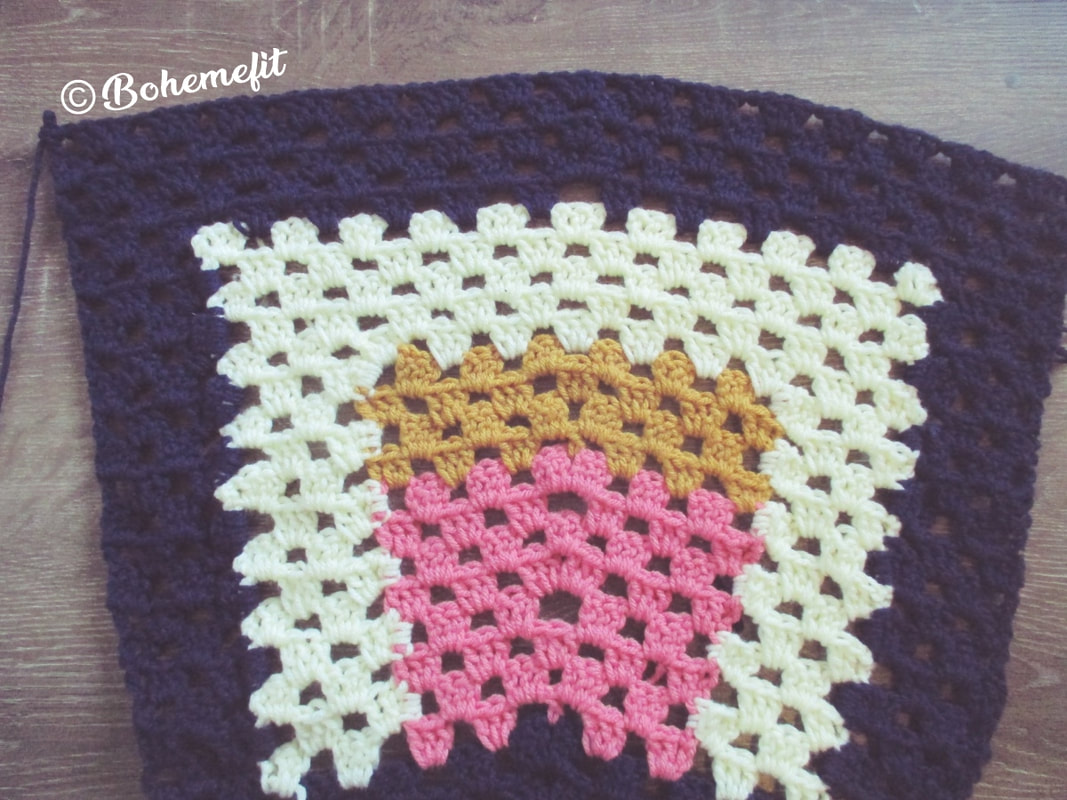
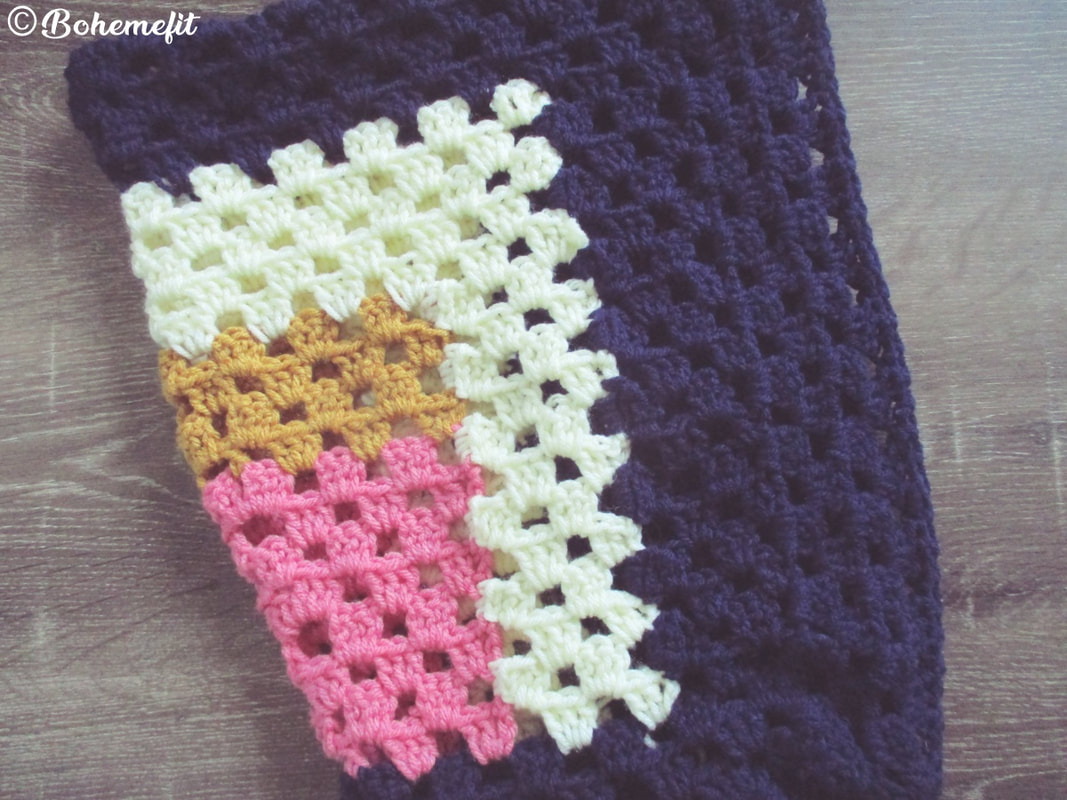
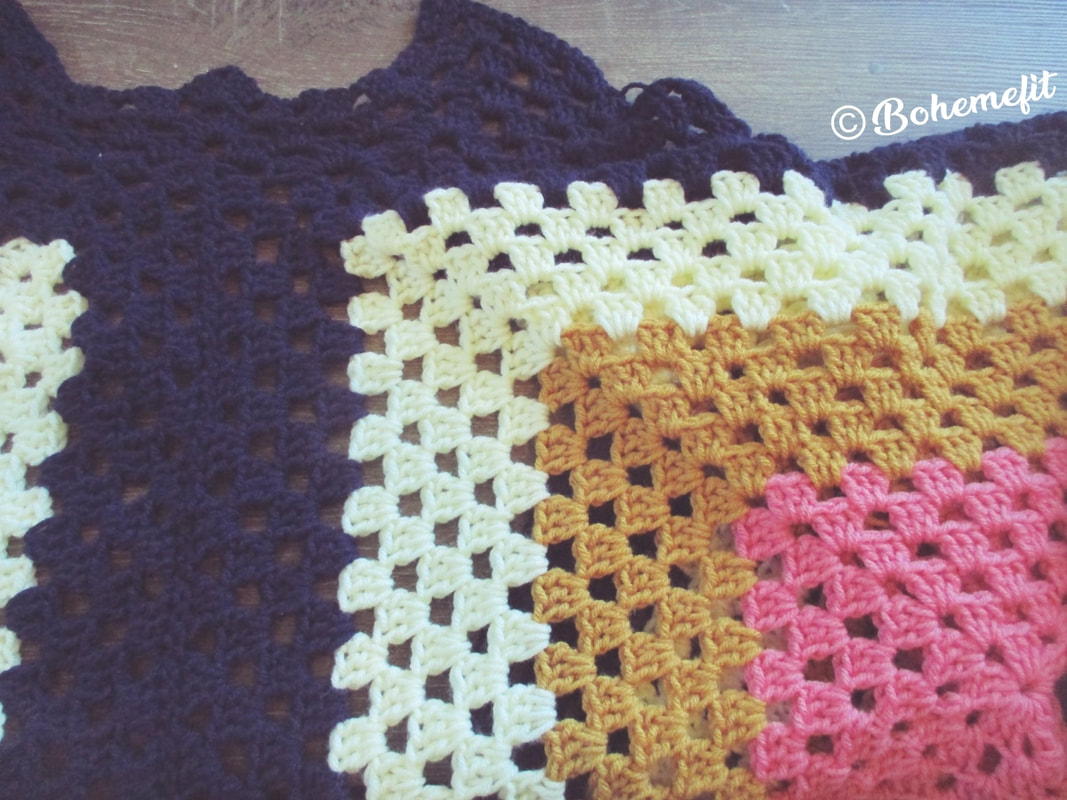
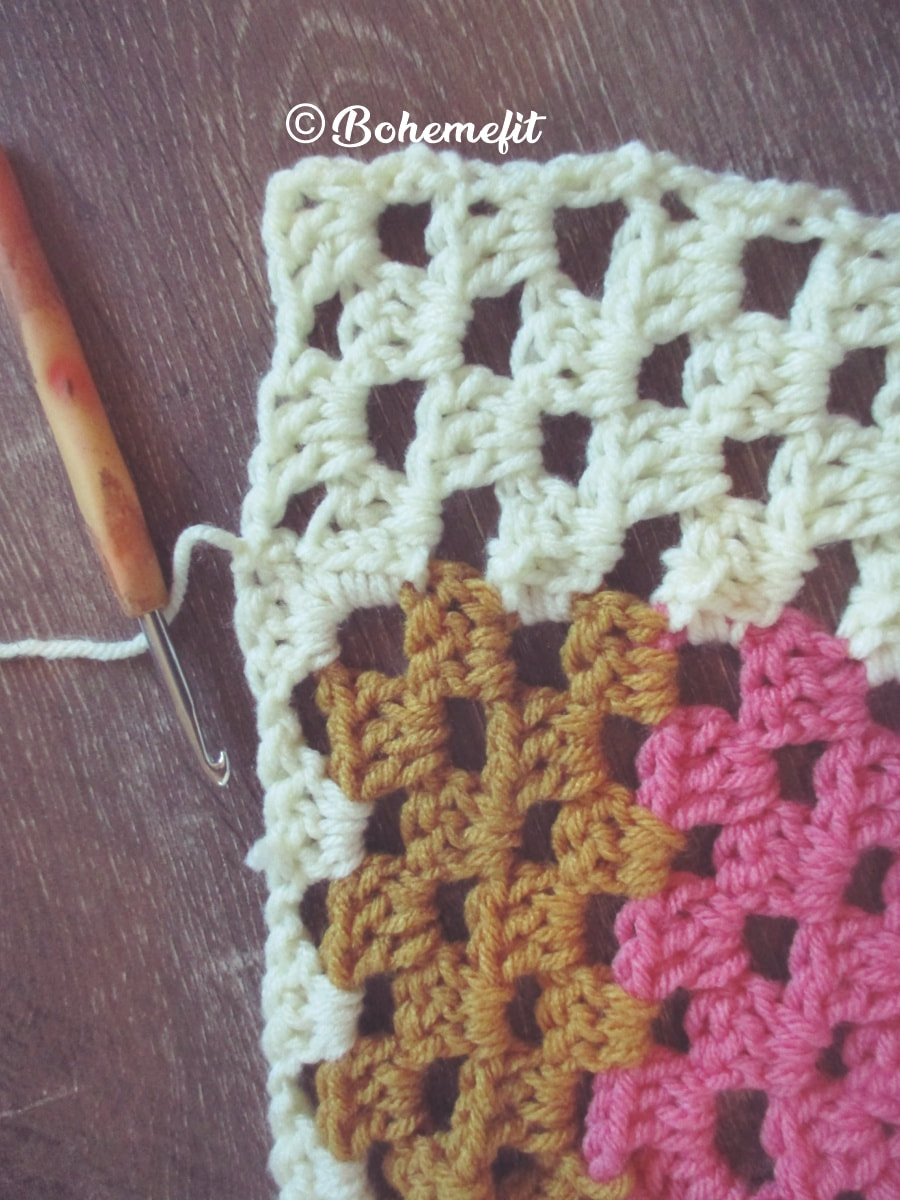
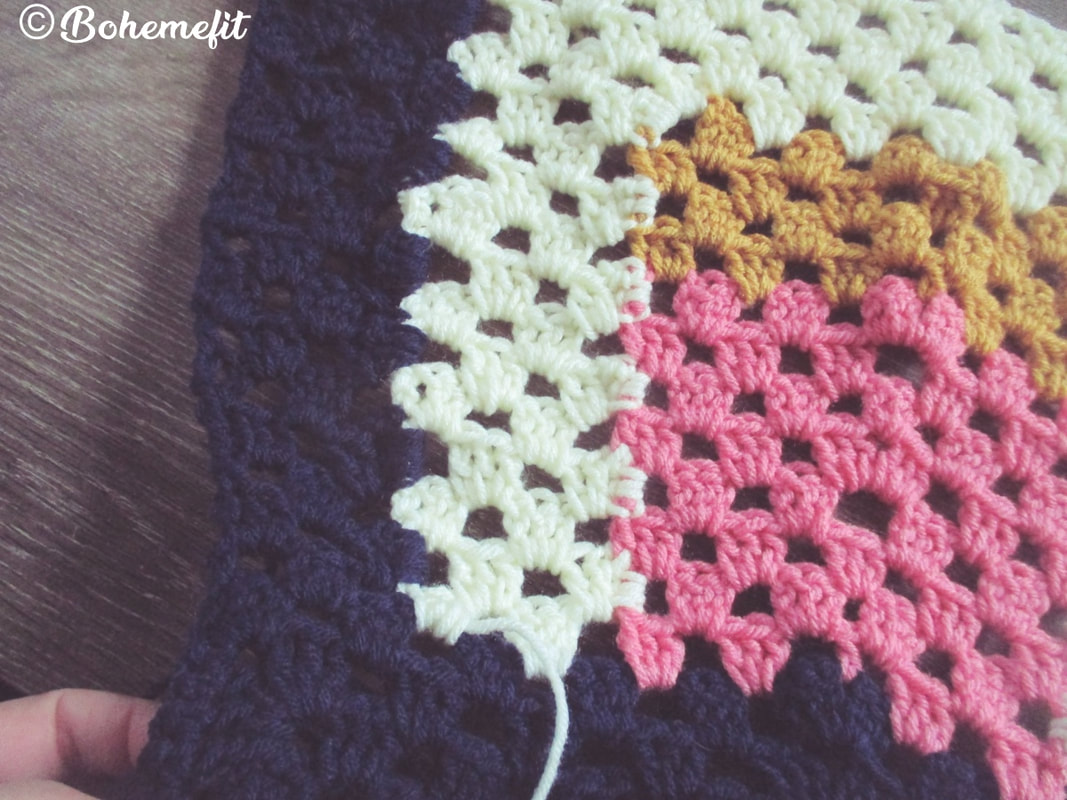
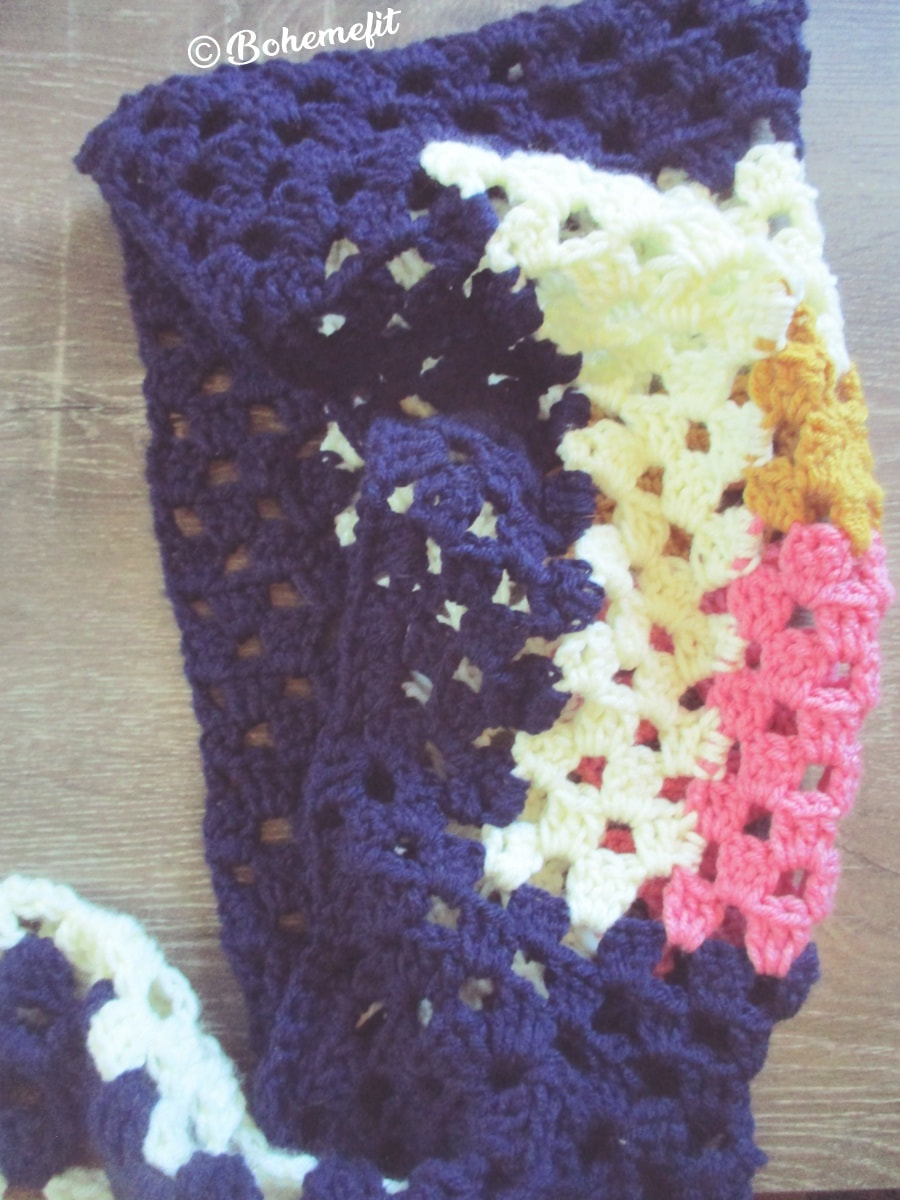
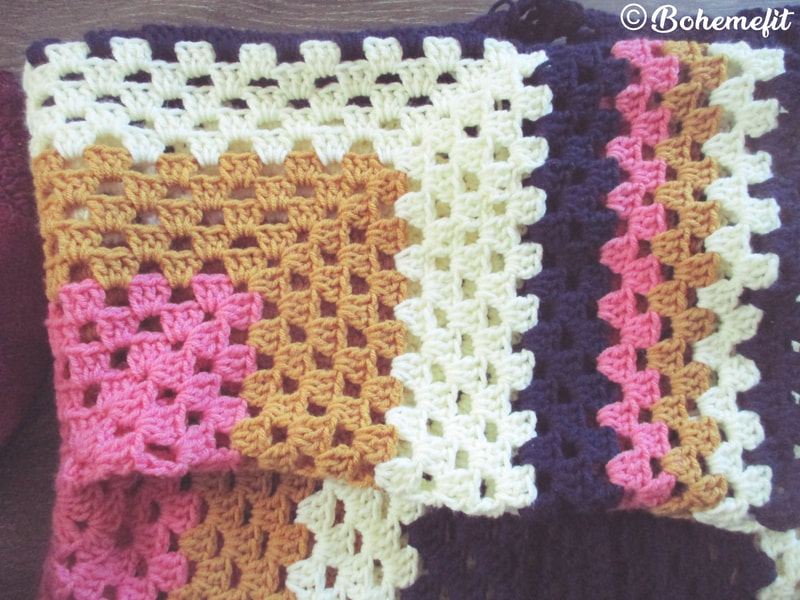
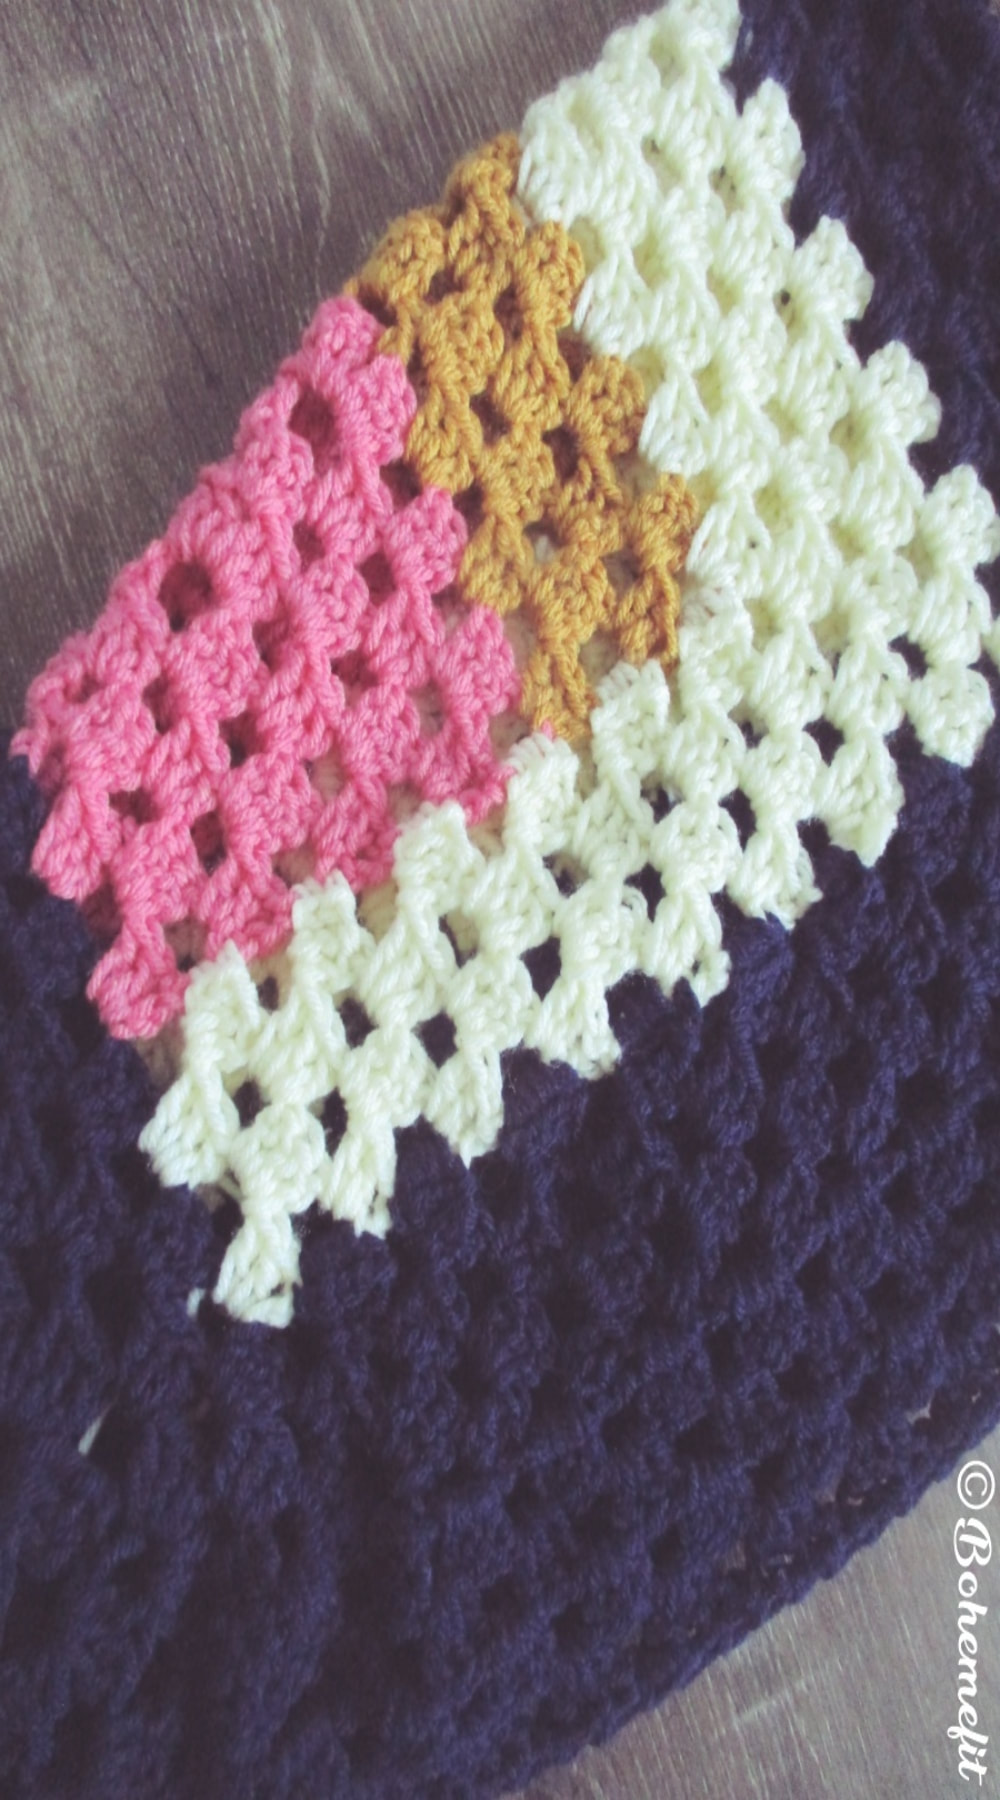
Hood Blush Centre with Some IncreaseStarting at the top of the collars left tip work with clusters of 3dc, ch 1 with added center increase or adjustment where stated. Where there is no ch space but clusters at beg or end of rounds ch3 to act as a dc/ch1. Turn over wrong side each time a row has been completed. Neckline Rows continued in Blush; 3) Cluster Row across, with a ch2, dc1 in the middle/center of the previous row 4) Cluster Row across 5) Cluster Row across 7) Cluster Row across, with a dc3, ch3, dc3, in the middle/center of the previous row 8) Cluster Row across, with a dc3, ch2, dc3, in the middle/center of the previous row 9) Cluster Row across 10) Cluster Row across, with a ch3 space between the center/middle clusters 11) Cluster Row across, with a dc3, ch2, dc3, in the middle/center of the previous row 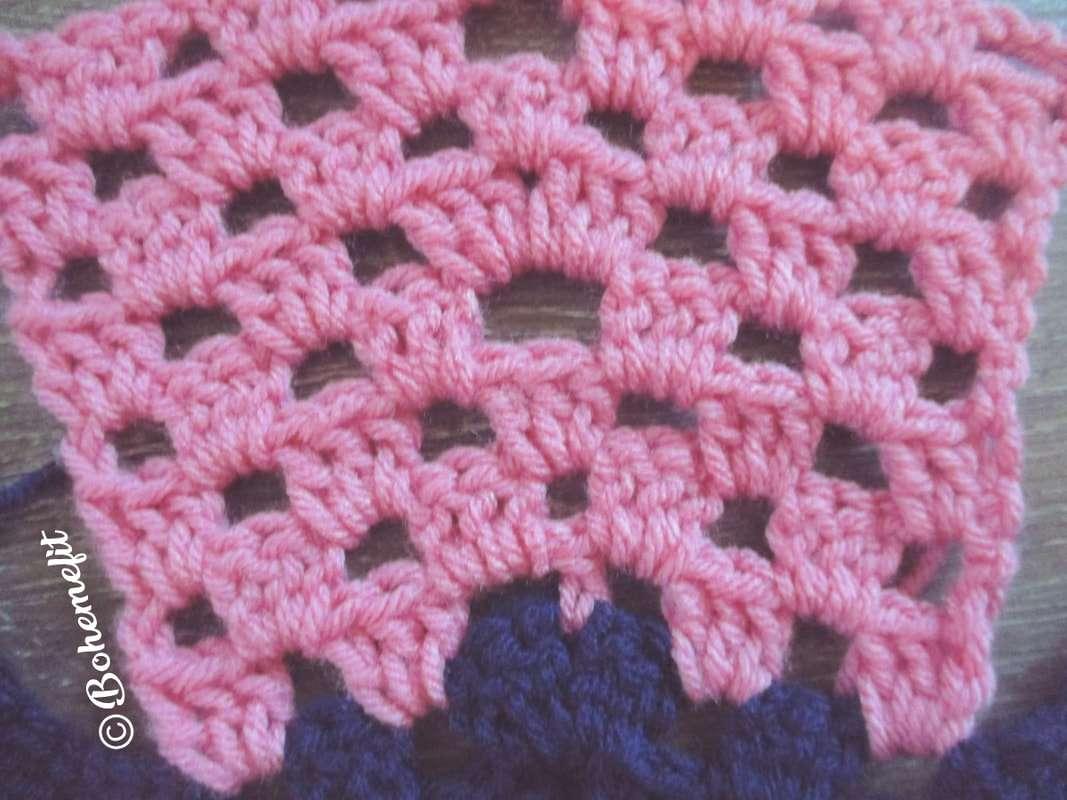 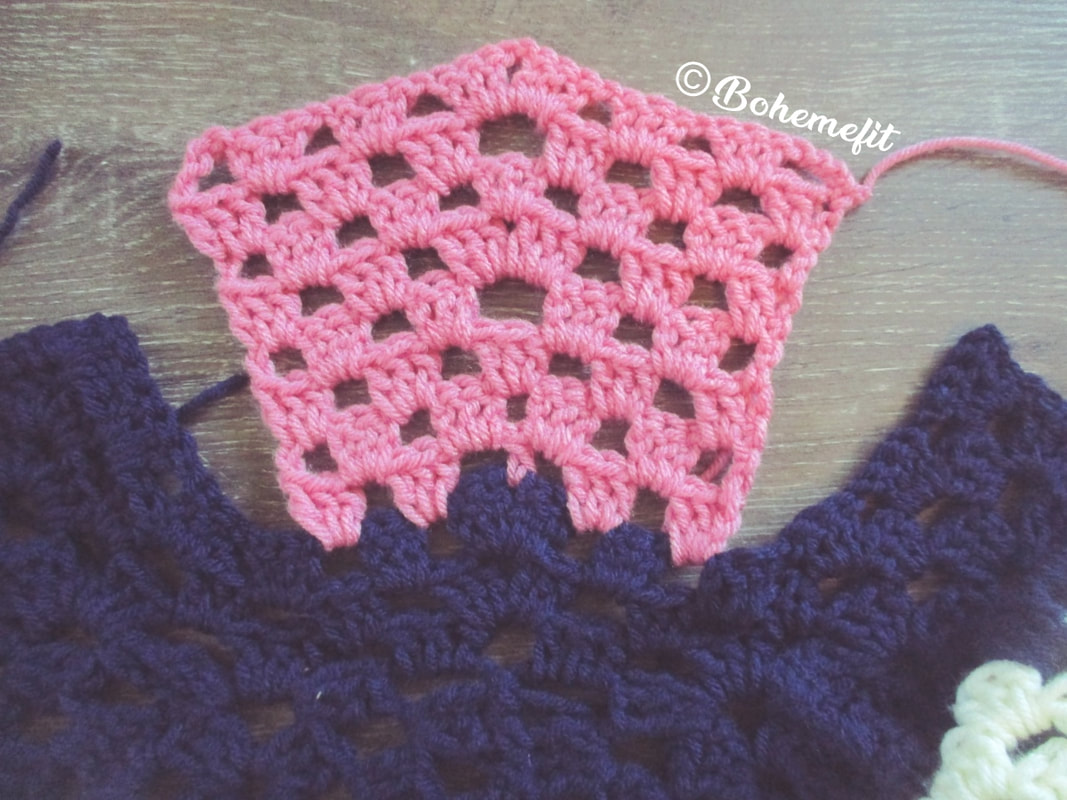 Hood Golden Centre RowsRows in clusters of 3dc, ch 1 with added center increase or adjustment where stated, as in blush. Where there is no ch space but clusters at beg or end of rounds ch3 to act as a dc/ch1. Turn over wrong side each time a row has been completed. Neckline Rows continued in Mustard or Pumpkin; 12) Cluster Row across, with a ch2, dc1 in the middle/center of the previous row 13) Cluster Row across, with a ch2 space between center clusters 14) Cluster Row across 15) Cluster Row across, with a ch2 space between center clusters 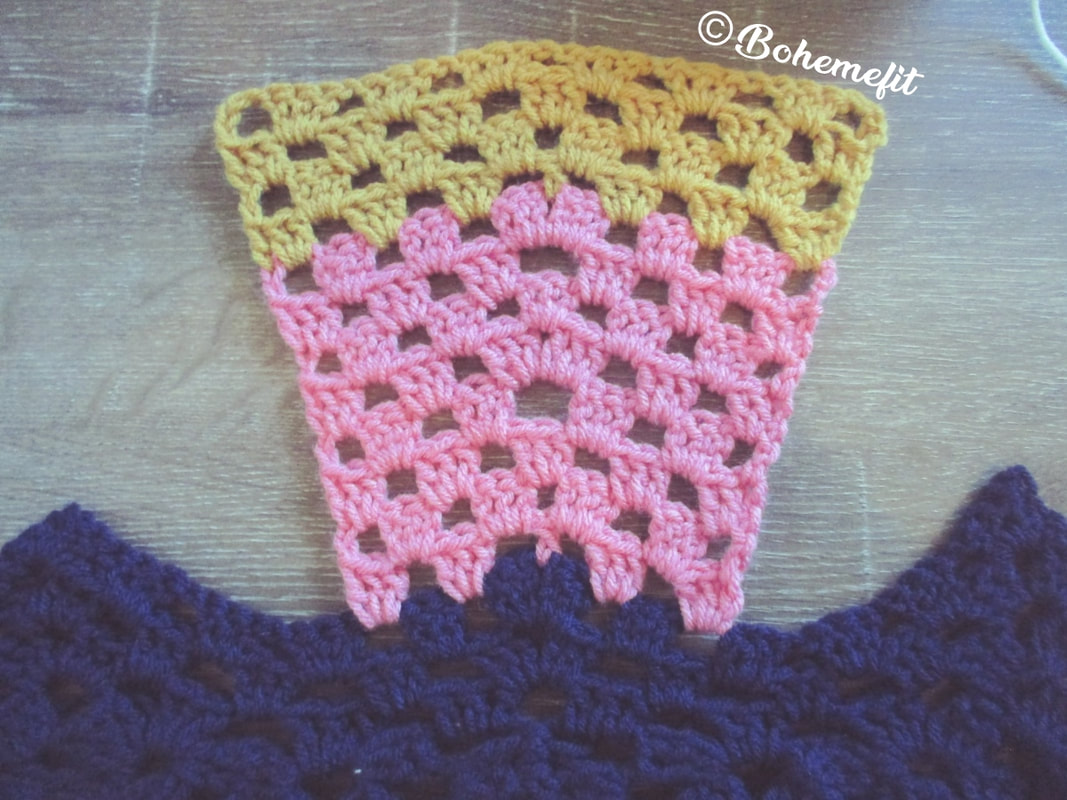 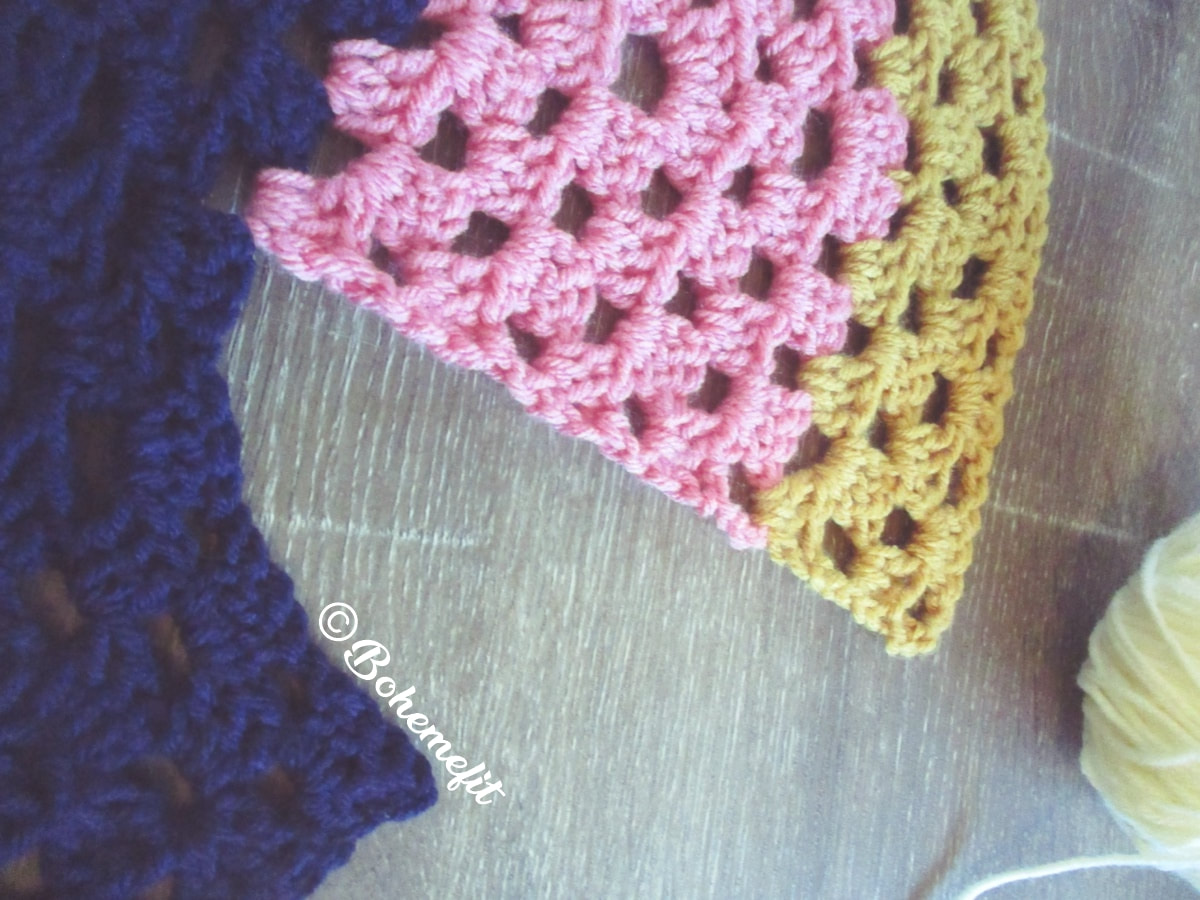 Hood Cream Horseshoe RoundsRows in clusters of 3dc, with sc into first stitch of bar or dc of center panel followed by a 3sc around/join the center chain posts/working up, in order to turn and work back out or back in. Where there is no ch space but clusters at beg or end of rounds ch3 to act as a dc/ch1. Right to Centre short Rows Cream to Blush Panel 3)Right side face, chain 3 up in the 2nd chain space from the blush panel into the Navy below and work across to center in the clusters and 1sc join and 3sc around post or stitches up join as mentioned above 4) Turn work, wrong side face, work across away from center in the clusters and 3sc join as mentioned above 5) Turn work, right side face, work towards center in the clusters and 3sc join as mentioned above 6) Turn work, wrong side face, work across away from center in the clusters and 3sc join as mentioned above 7) Turn work, right side face, work towards center in the clusters and 3sc join as mentioned above 8) Turn work, wrong side face, work across away from center in the clusters and 3sc join as mentioned above 9) Turn work, right side face, work towards center in the clusters and 3sc join as mentioned above 10) Turn work, wrong side face, work across away from center in the clusters and 3sc join as mentioned above Cream to Mustard or Pumpkin Panel 11) Turn work, right side face, work towards center in the clusters and 3sc join as mentioned above 12) Turn work, wrong side face, work across away from center in the clusters and 3sc join as mentioned above 13) Turn work, right side face, work towards center in the clusters and 3sc join as mentioned above 14) Turn work, wrong side face, work across away from center in the clusters and 3sc join as mentioned above 15) Cluster entire row to edge of panel on the other side of the hood, tie off and sew in New start Left to Centre short Rows Cream to Blush Panel 3)Right side face, chain 3 up in the 2nd chain space from the blush panel into the Navy below and work across to center in the clusters and 1sc join and 3sc around post or stitches up join as mentioned above 4) Turn work, wrong side face, work across away from center in the clusters and 3sc join as mentioned above 5) Turn work, right side face, work towards center in the clusters and 3sc join as mentioned above 6) Turn work, wrong side face, work across away from center in the clusters and 3sc join as mentioned above 7) Turn work, right side face, work towards center in the clusters and 3sc join as mentioned above 8) Turn work, wrong side face, work across away from center in the clusters and 3sc join as mentioned above 9) Turn work, right side face, work towards center in the clusters and 3sc join as mentioned above 10) Turn work, wrong side face, work across away from center in the clusters and 3sc join as mentioned above Cream to Mustard or Pumpkin Panel 11) Turn work, right side face, work towards center in the clusters and 3sc join as mentioned above 12) Turn work, wrong side face, work across away from center in the clusters and 3sc join as mentioned above 13) Turn work, right side face, work towards center in the clusters and 3sc join as mentioned above 14) Turn work, wrong side face, work across away from center in the clusters and 3sc join as mentioned above 15) Work up and across in clusters to join with the 15th row of cream clusters. 16) Cream Row Across in 3dc clusters,ch1 space as mentioned above 17) Cream Row Across in 3dc clusters,ch1 space as mentioned above 18) Cream Row Across in 3dc clusters,ch1 space as mentioned above 19) Cream Row Across in 3dc clusters,ch1 space as mentioned above 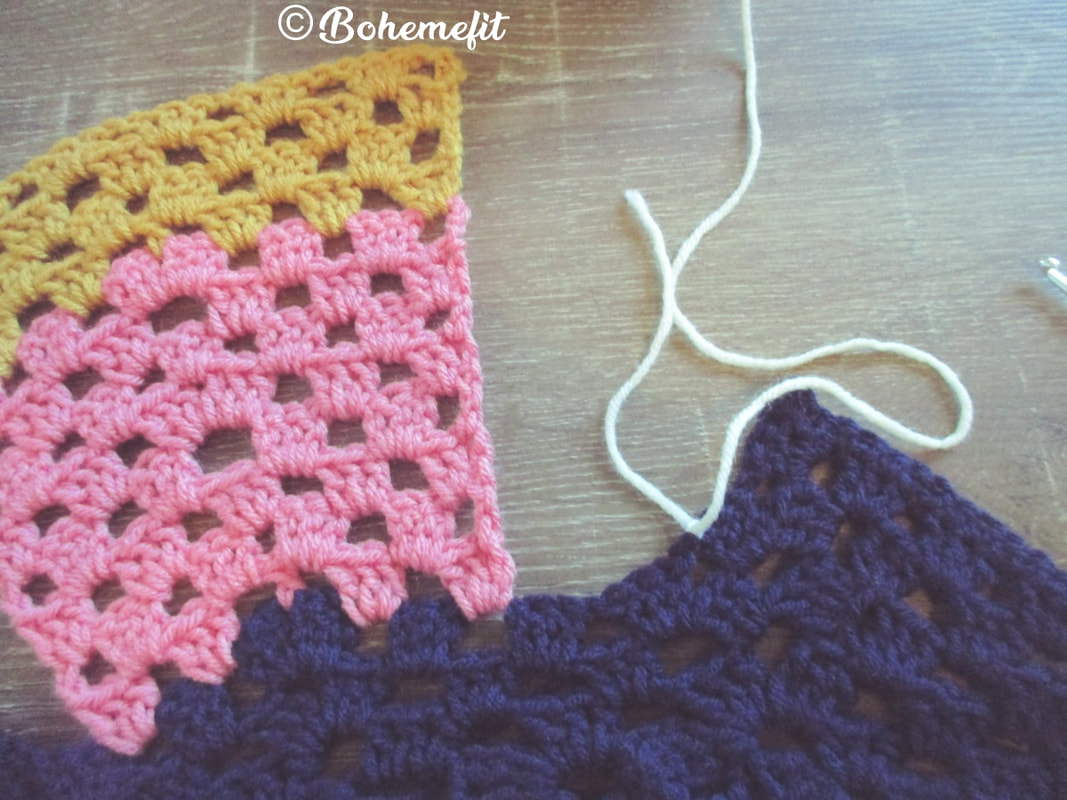 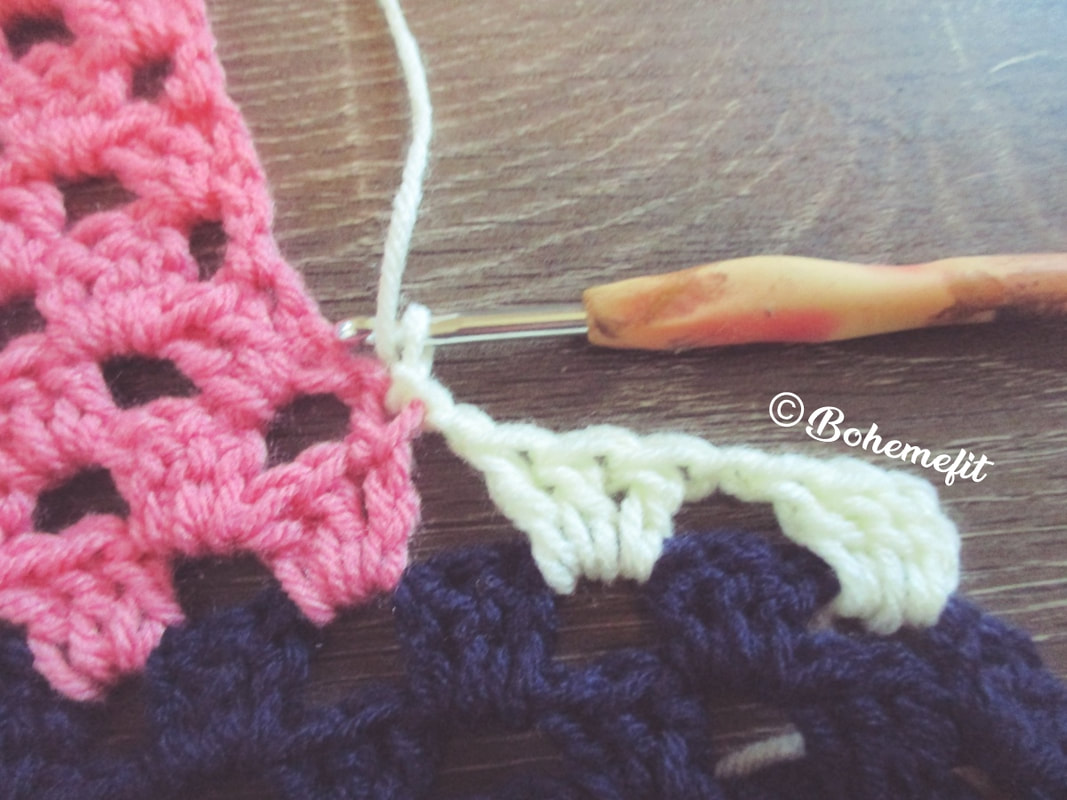 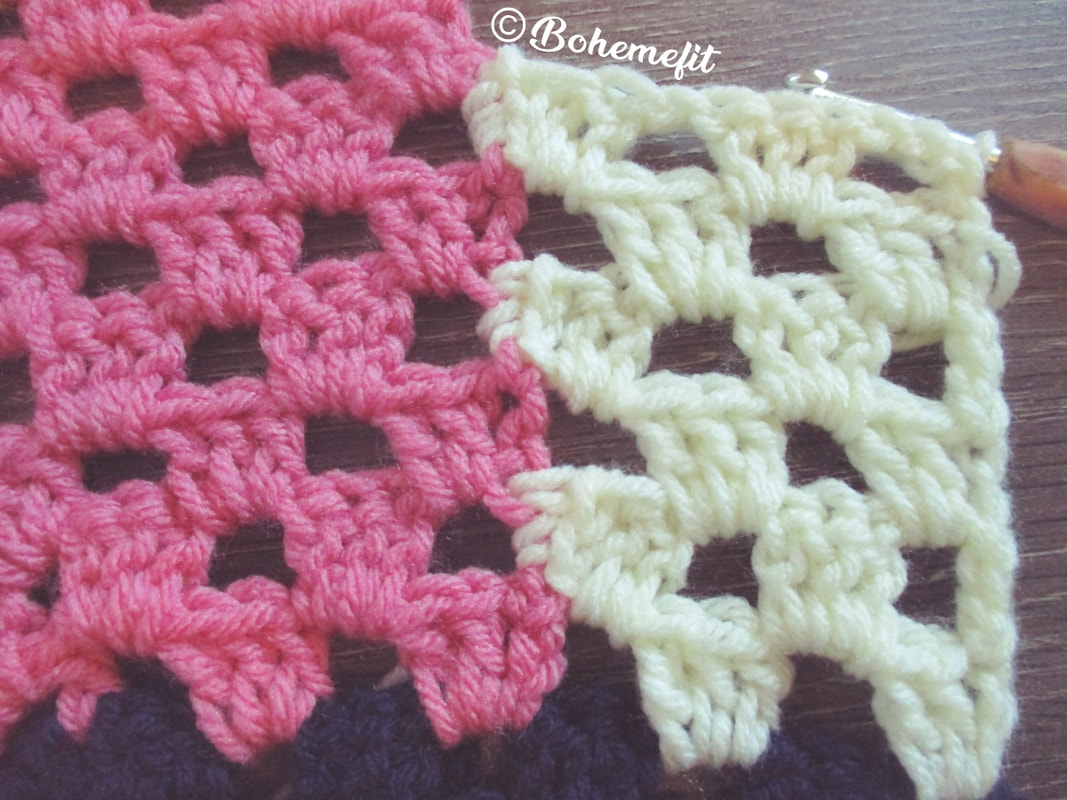 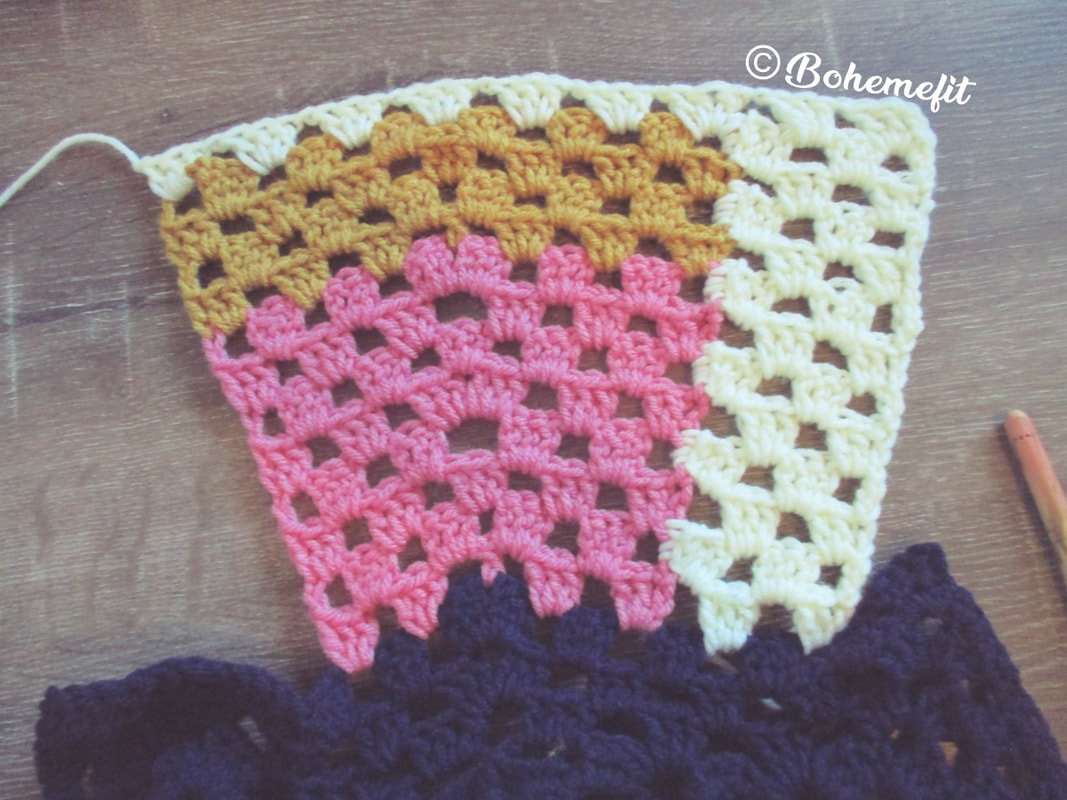 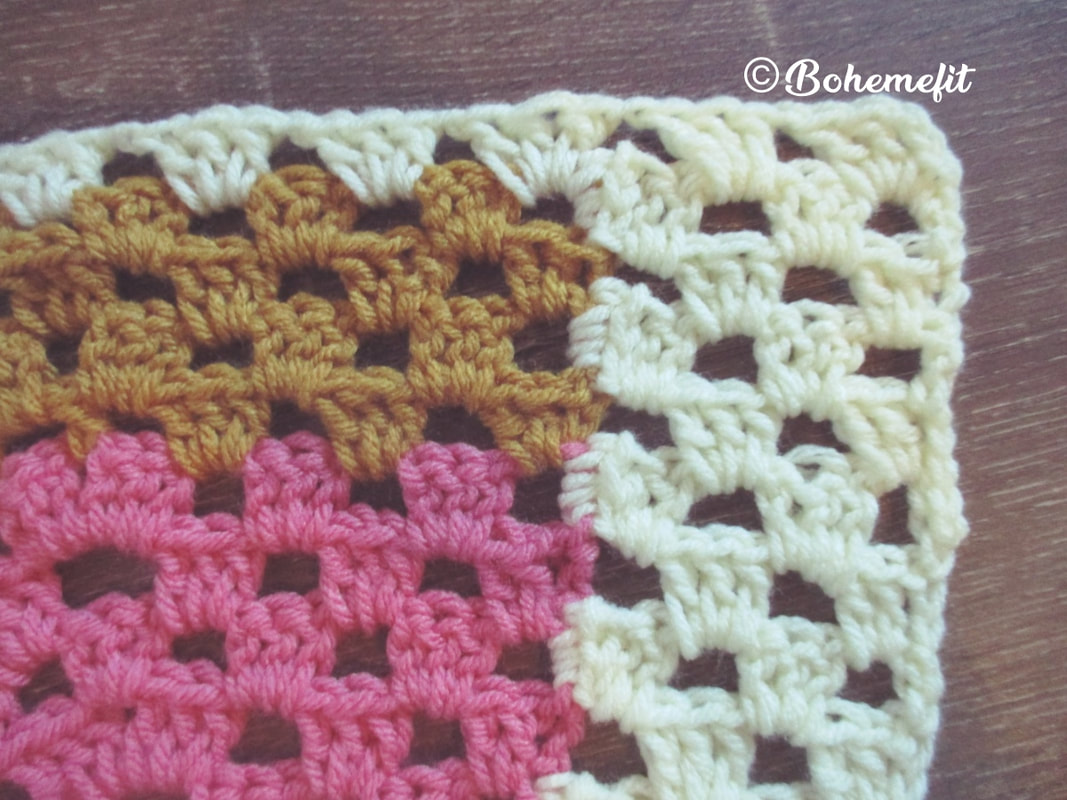 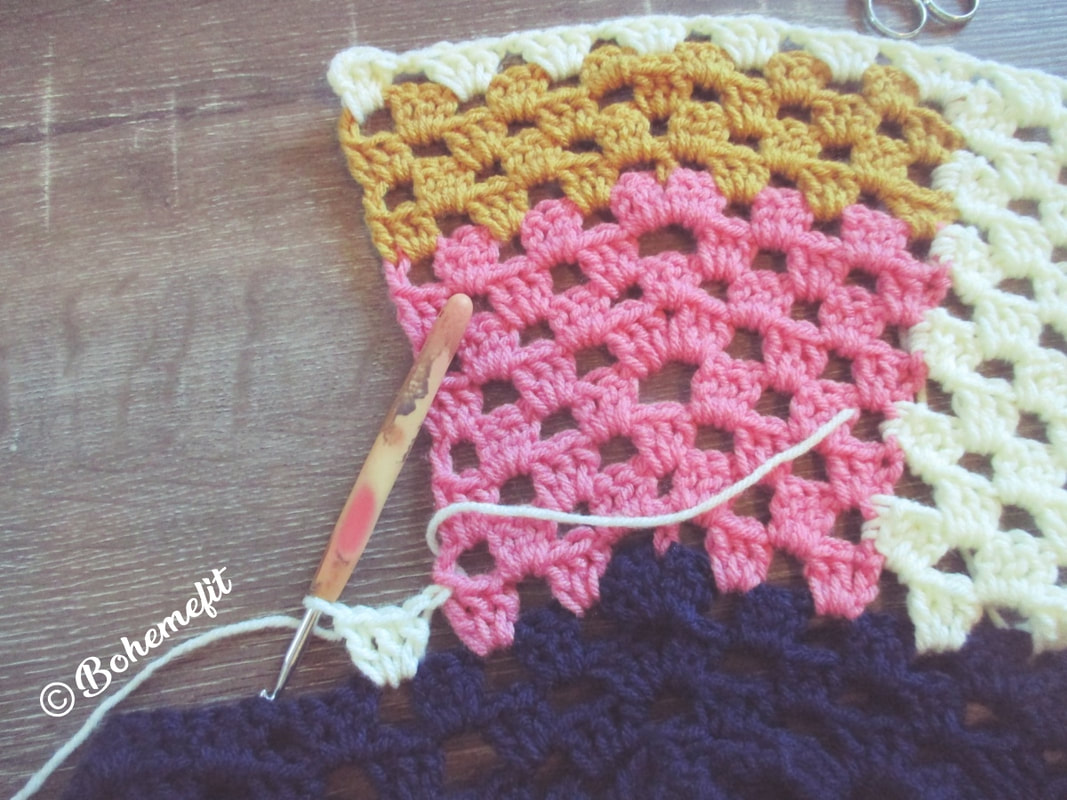 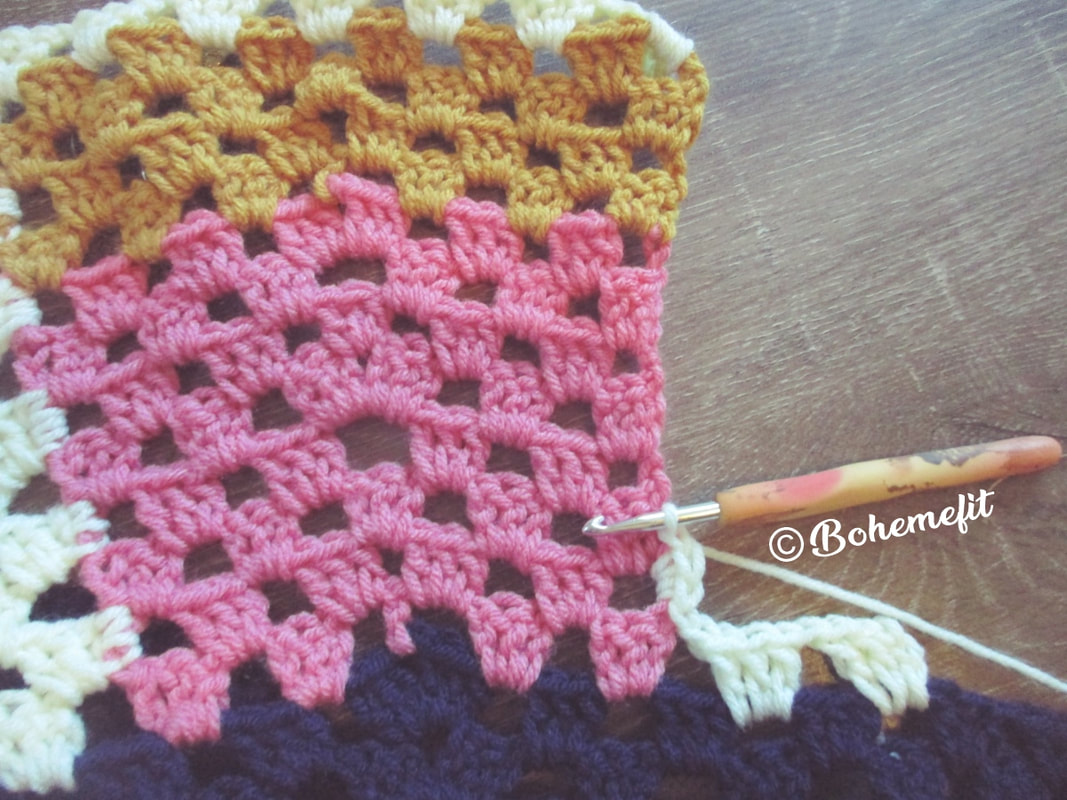 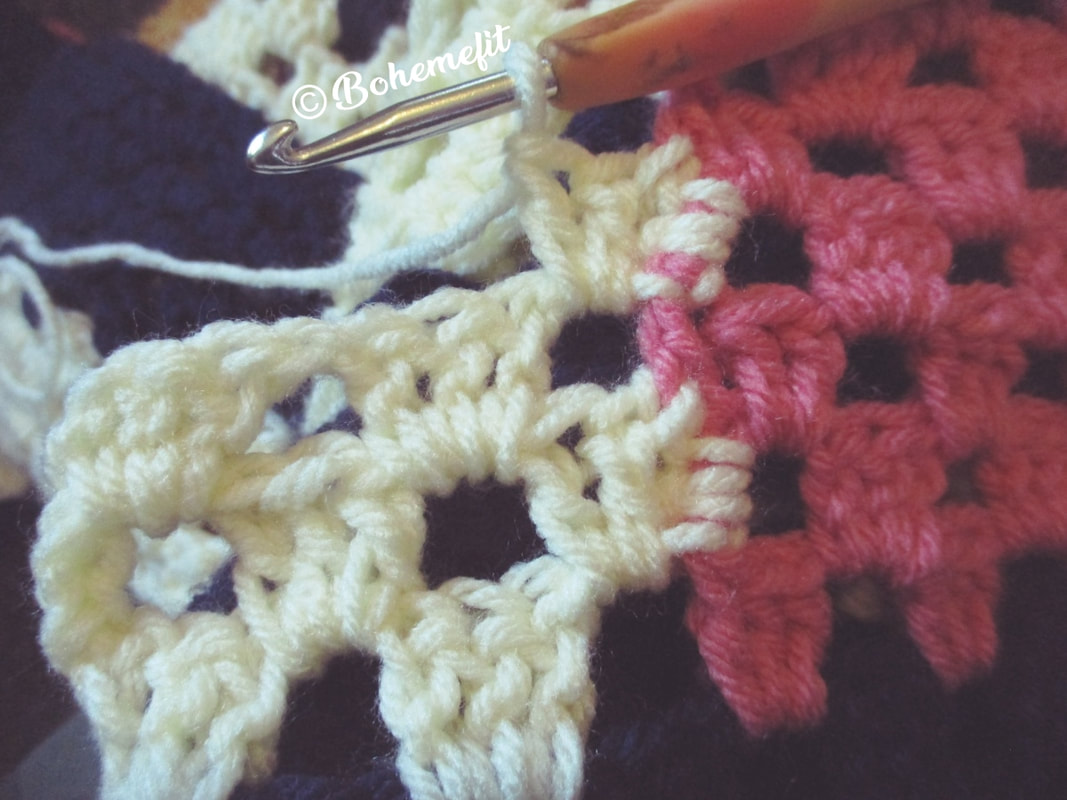
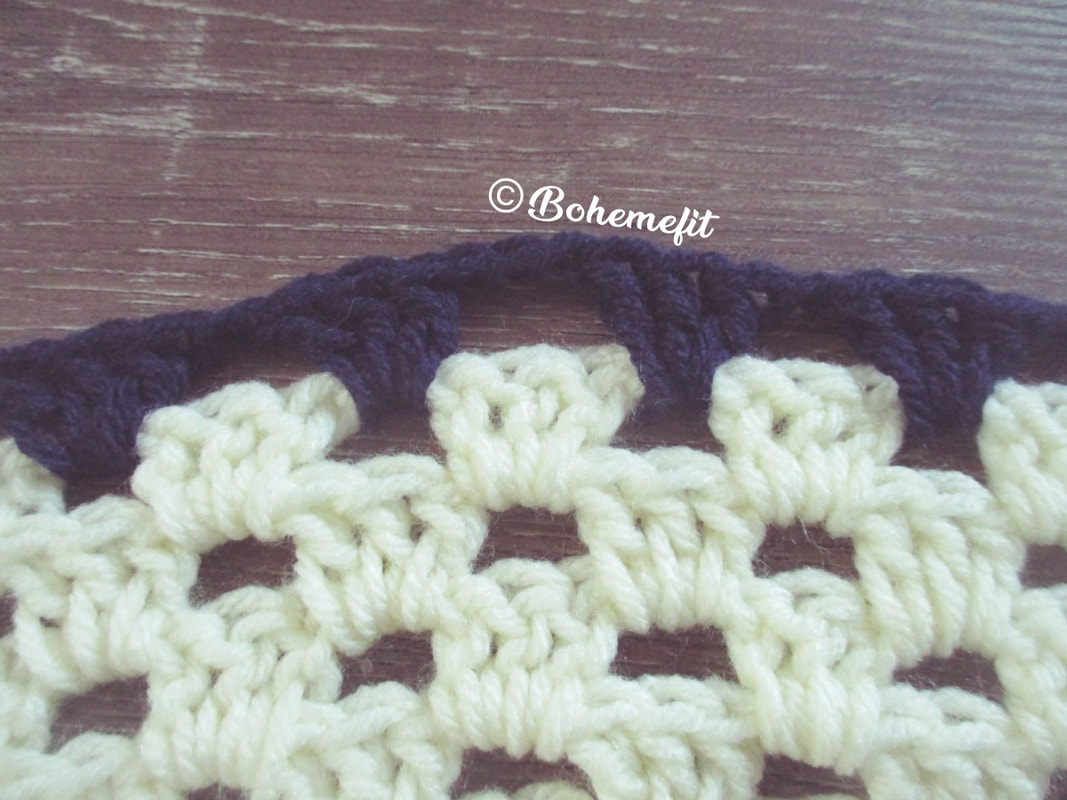
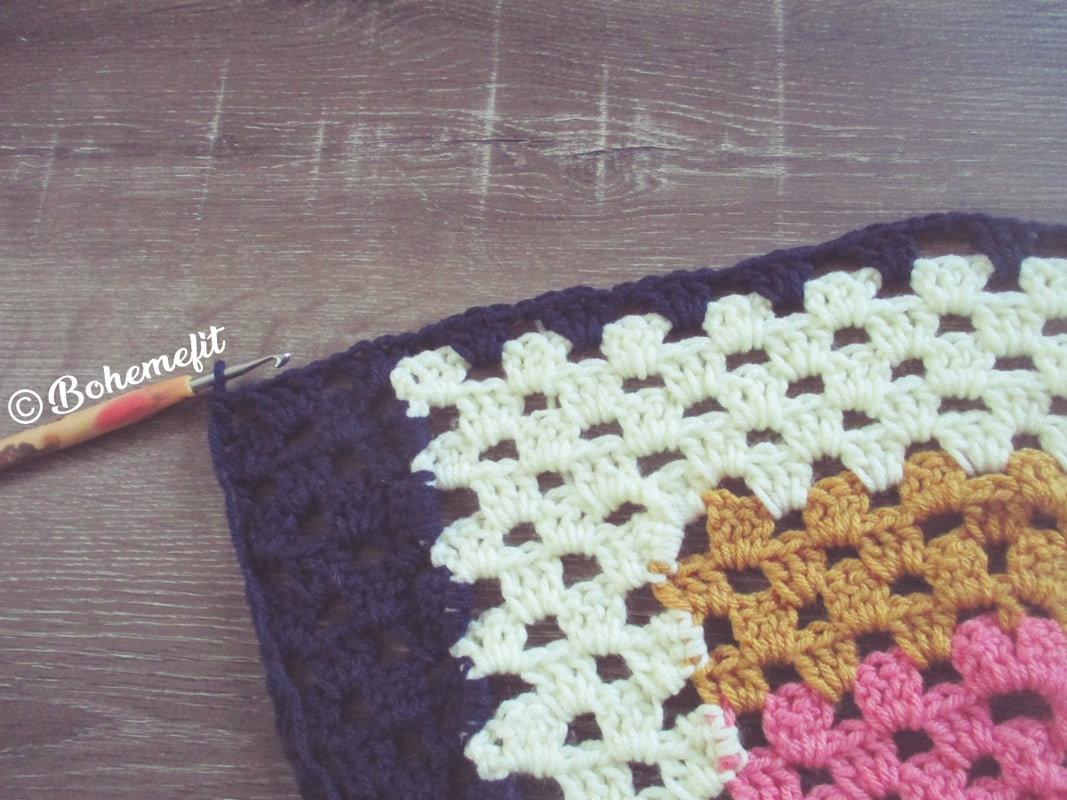
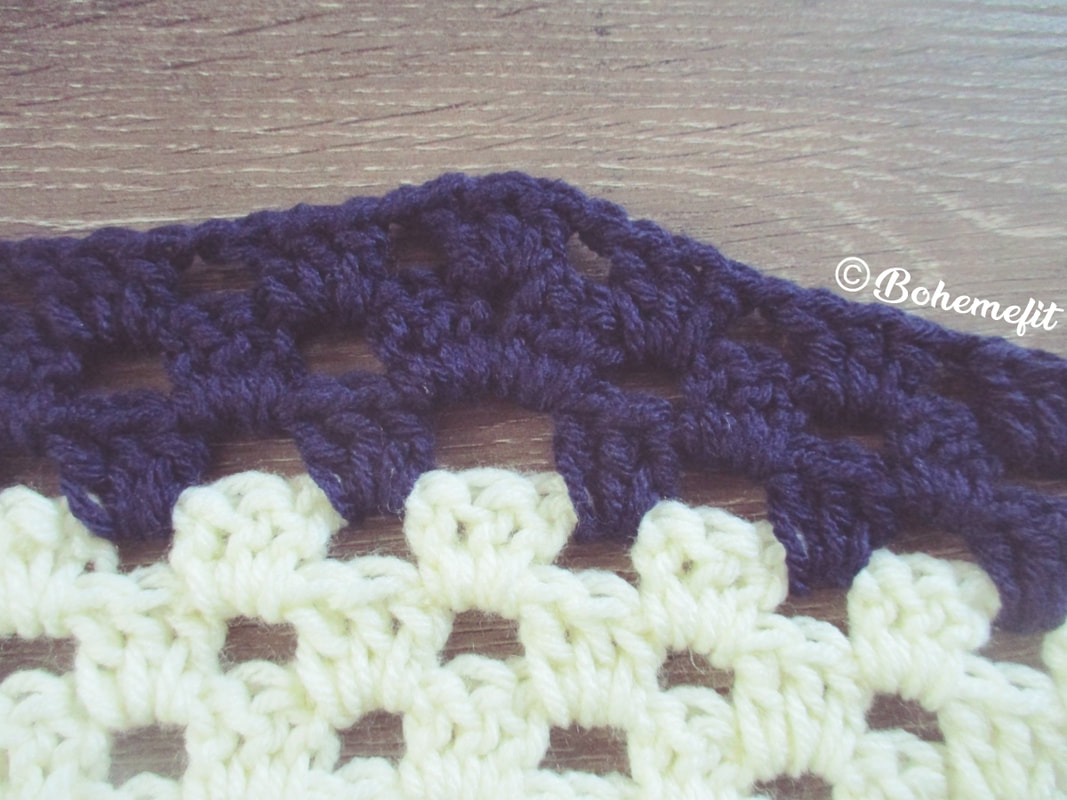
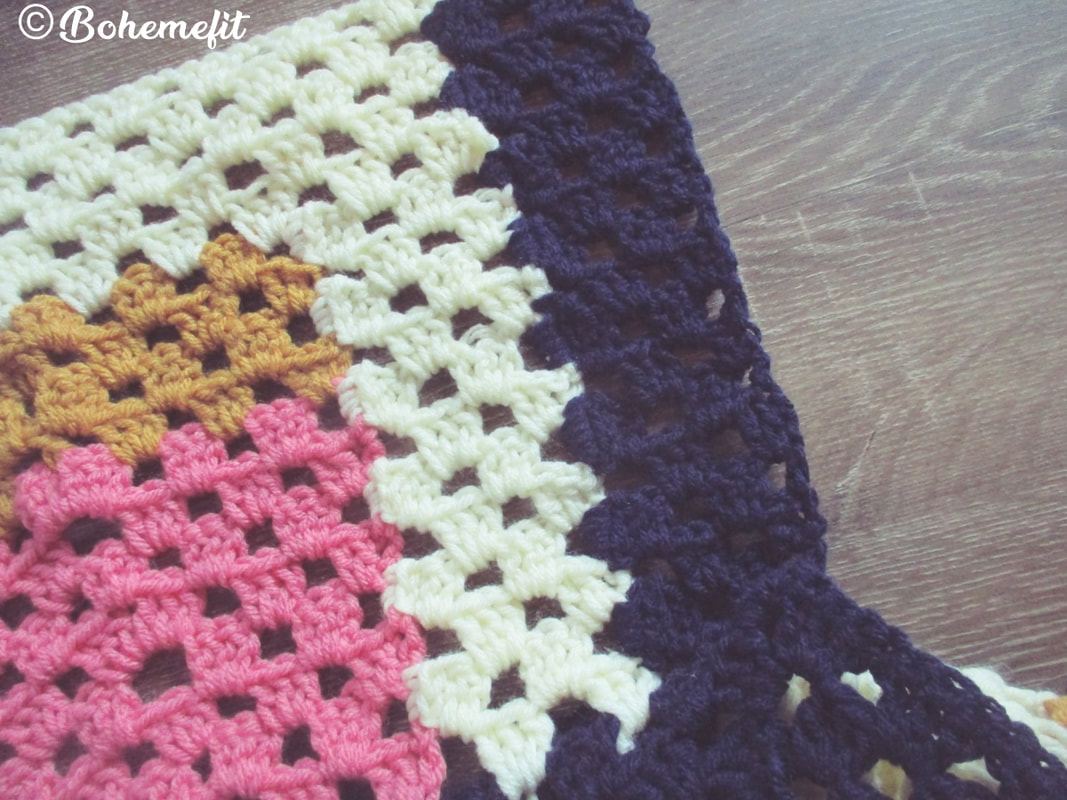
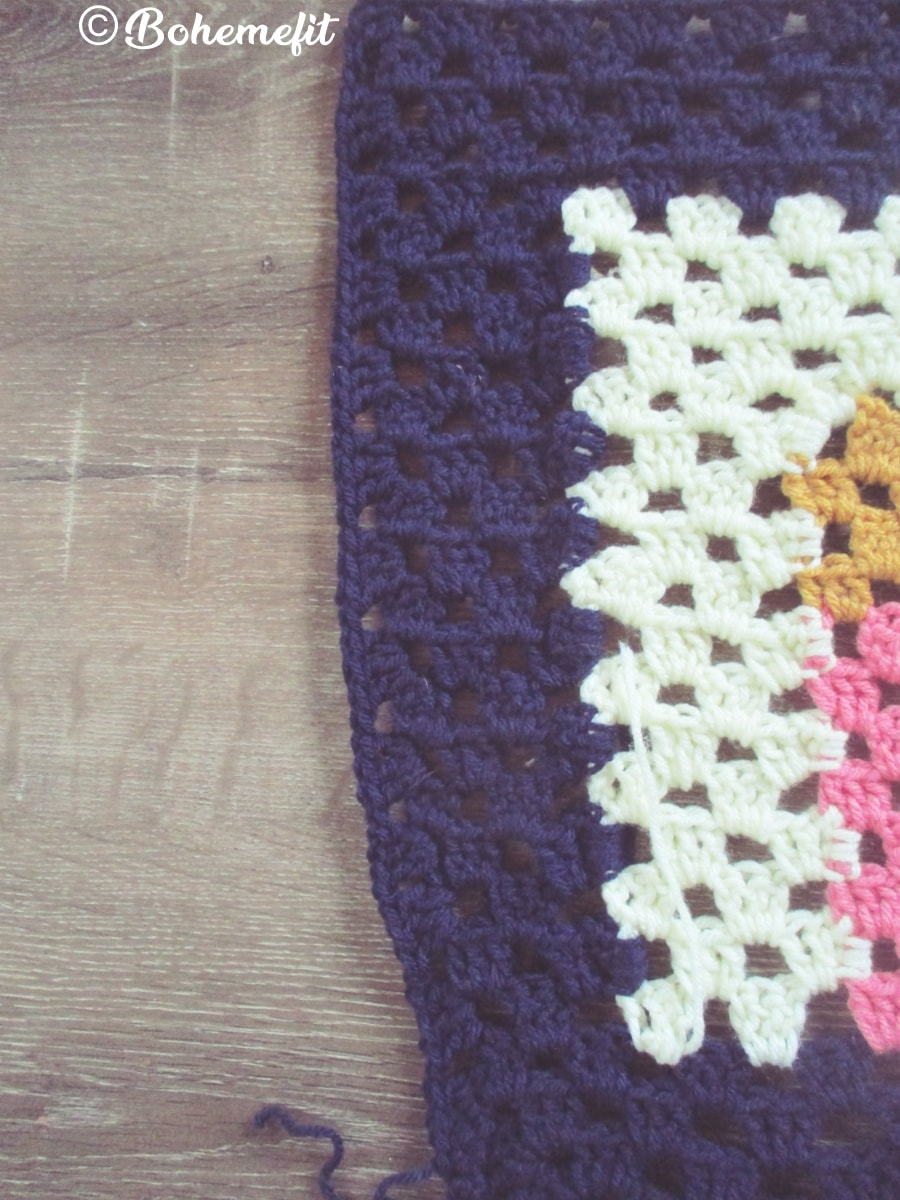
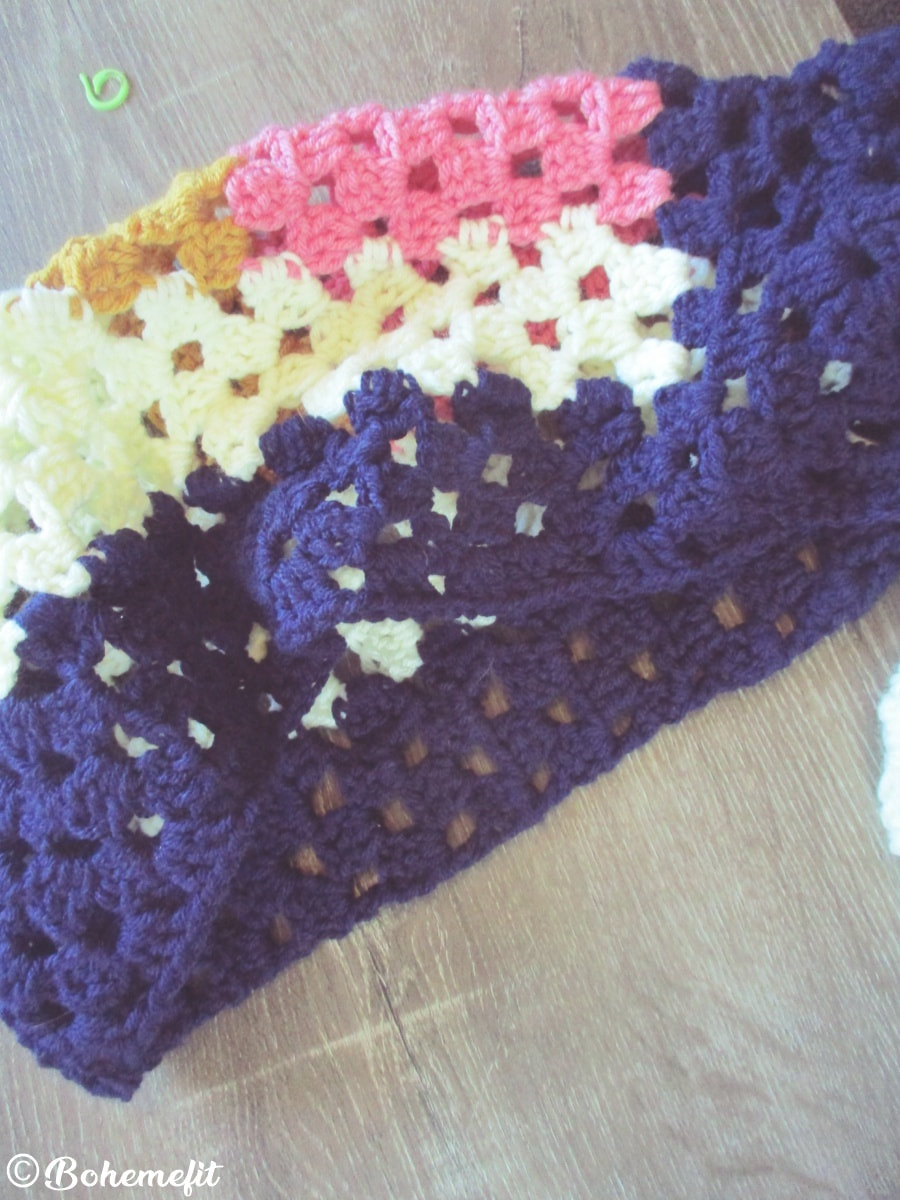
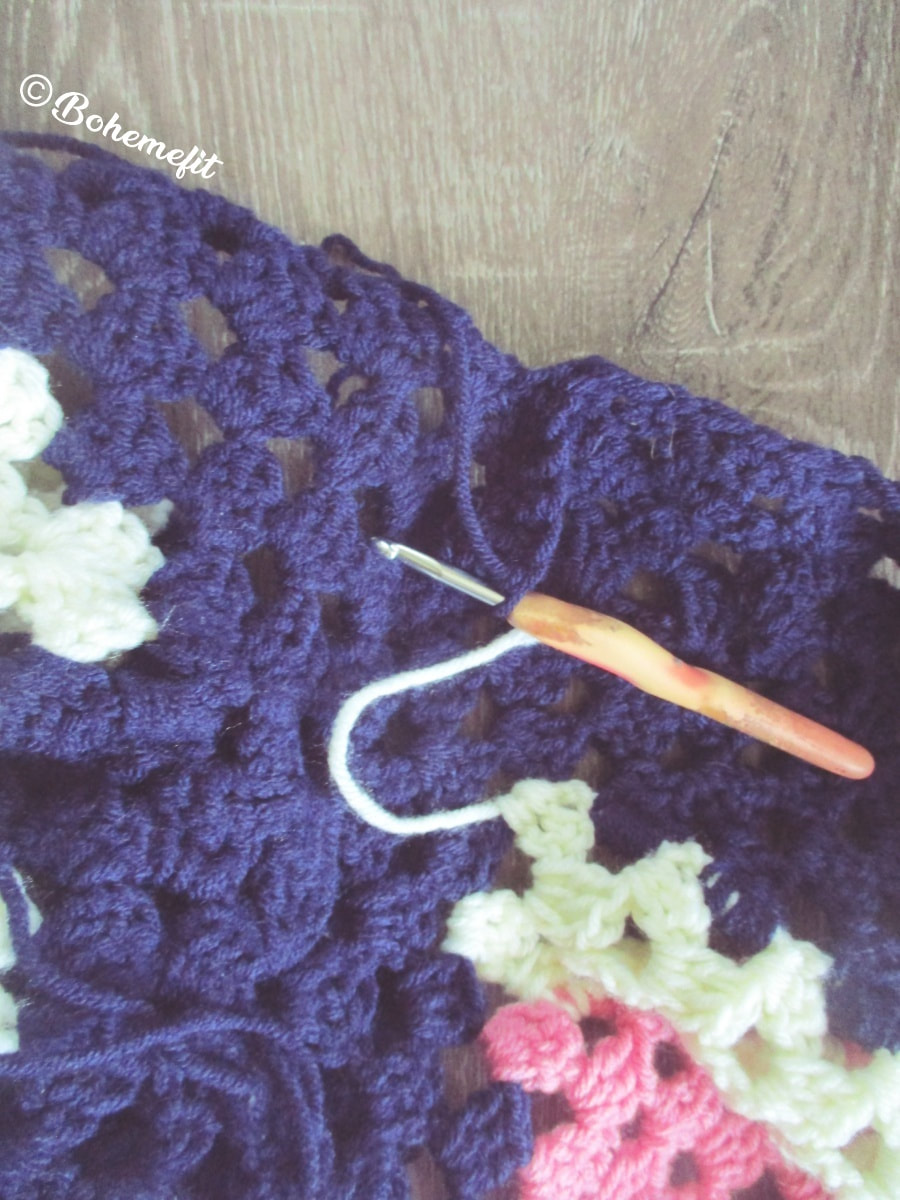
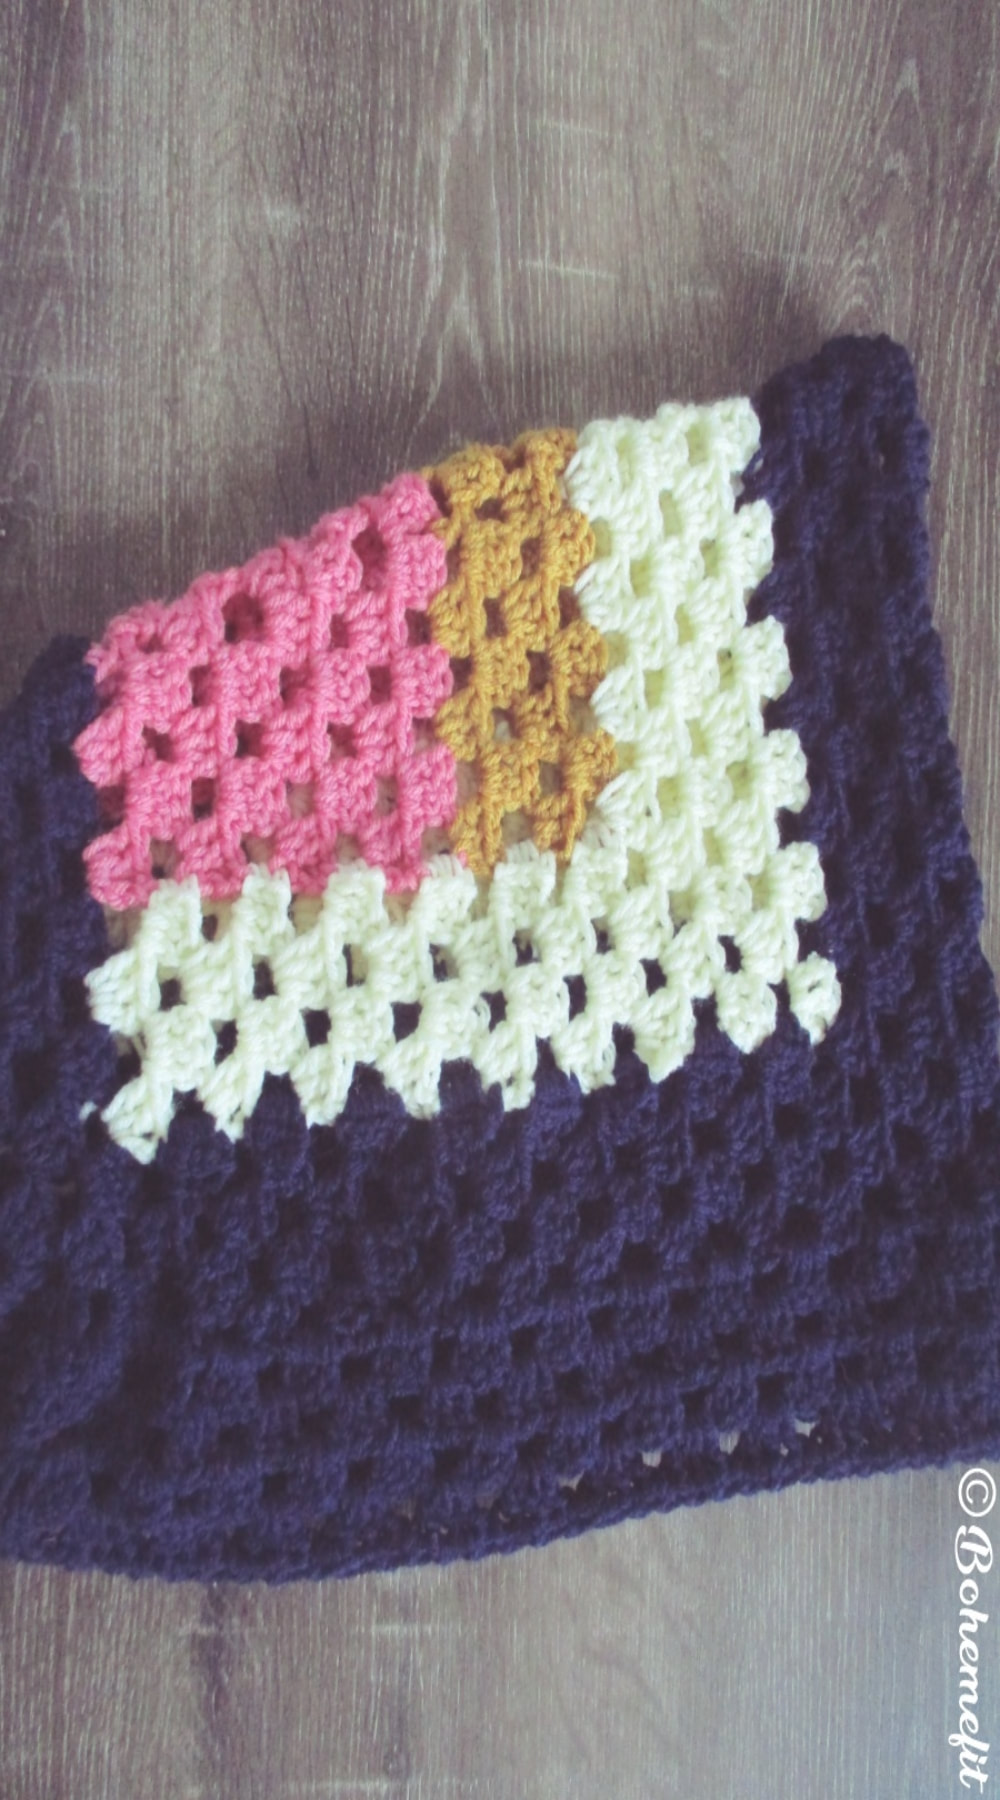
 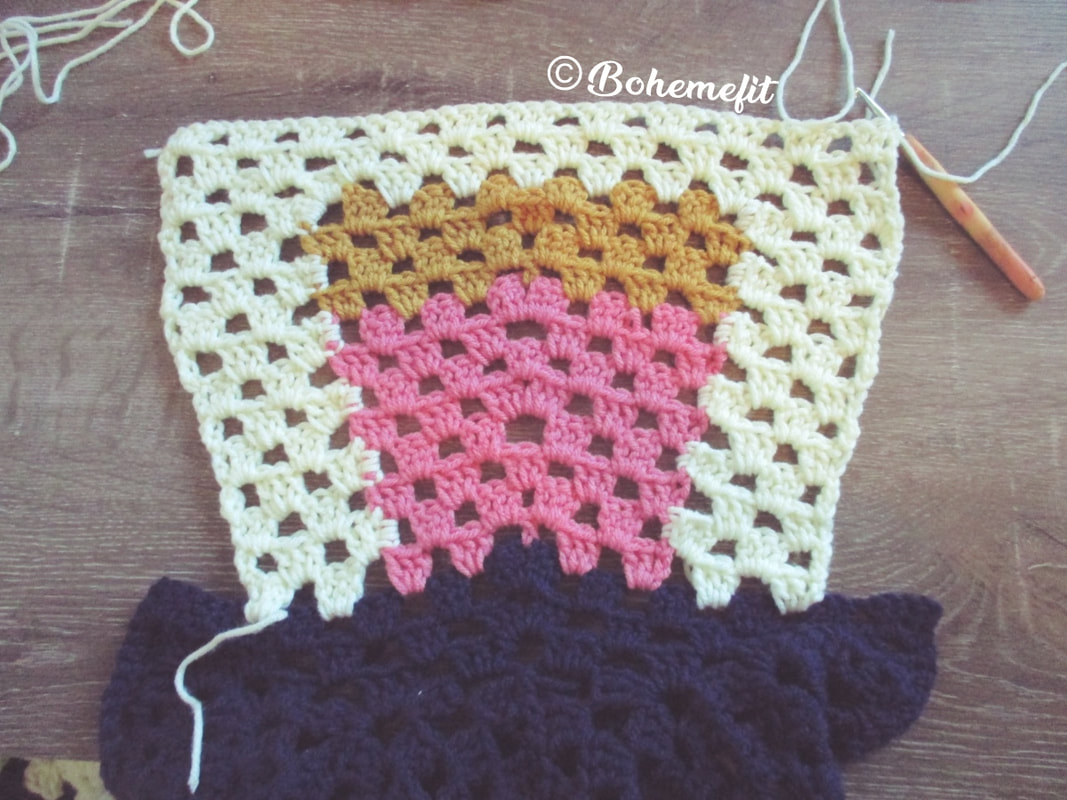  Hood Navy Horseshoe round with some IncreaseRows in clusters of 3dc, with sc into first stitch of bar or dc of center panel followed by a 3sc around/join the center chain posts/working up, in order to turn and work back out or back in. Where there is no ch space but clusters at beg or end of rounds ch3 to act as a dc/ch1. Right to Centre short Rows Navy to Cream Side panel 3)Right side face, chain 3 up in the 2nd chain space from the blush panel into the Navy below and work across to center in the clusters and 1sc join and 3sc around post or stitches up join as mentioned above 4) Turn work, wrong side face, work across away from center in the clusters and 3sc join as mentioned above 5) Turn work, right side face, work towards center in the clusters and 3sc join as mentioned above 6) Turn work, wrong side face, work across away from center in the clusters and 3sc join as mentioned above 7) Turn work, right side face, work towards center in the clusters and 3sc join as mentioned above 8) Turn work, wrong side face, work across away from center in the clusters and 3sc join as mentioned above 9) Turn work, right side face, work towards center in the clusters and 3sc join as mentioned above 10) Turn work, wrong side face, work across away from center in the clusters and 3sc join as mentioned above 11) Turn work, right side face, work towards center in the clusters and 3sc join as mentioned above 12) Turn work, wrong side face, work across away from center in the clusters and 3sc join as mentioned above 13) Turn work, right side face, work towards center in the clusters and 3sc join as mentioned above 14) Turn work, wrong side face, work across away from center in the clusters and 3sc join as mentioned above 15) Turn work, right side face, work towards center in the clusters and 3sc join as mentioned above 16) Turn work, wrong side face, work across away from center in the clusters and 3sc join as mentioned above, tie off and sew in New start Left to Centre short Rows Navy to Cream Side panel 3)Right side face, chain 3 up in the 2nd chain space from the blush panel into the Navy below and work across to center in the clusters and 1sc join and 3sc around post or stitches up join as mentioned above 4) Turn work, wrong side face, work across away from center in the clusters and 3sc join as mentioned above 5) Turn work, right side face, work towards center in the clusters and 3sc join as mentioned above 6) Turn work, wrong side face, work across away from center in the clusters and 3sc join as mentioned above 7) Turn work, right side face, work towards center in the clusters and 3sc join as mentioned above 8) Turn work, wrong side face, work across away from center in the clusters and 3sc join as mentioned above 9) Turn work, right side face, work towards center in the clusters and 3sc join as mentioned above 10) Turn work, wrong side face, work across away from center in the clusters and 3sc join as mentioned above 11) Turn work, right side face, work towards center in the clusters and 3sc join as mentioned above 12) Turn work, wrong side face, work across away from center in the clusters and 3sc join as mentioned above 13) Turn work, right side face, work towards center in the clusters and 3sc join as mentioned above 14) Turn work, wrong side face, work across away from center in the clusters and 3sc join as mentioned above 15) Turn work, right side face, work towards center in the clusters and 3sc join as mentioned above 16) Turn work, wrong side face, work across away from center in the clusters and 3sc join as mentioned above Subsequent Navy Rows with some increase at the center cluster or ch space on rows 17/18 17) Turn work, right side face, Navy Row Across in 3dc clusters, ch1 space as mentioned above, but at the center cluster do a ch3 space above 18) Turn work, wrong side face, Navy Row Across in 3dc clusters, ch1 space as mentioned above, but at the center cluster do a dc3 ch2 dc3 cluster or increase around the center ch3 space 19) Turn work, right side face, Navy Row Across in 3dc clusters, ch1 space as mentioned above 20) Turn work, wrong side face, Navy Row Across in 3dc clusters, ch1 space as mentioned above 21) Turn work, right side face, Navy Row Across in 3dc clusters, ch1 space as mentioned above, tie off and sew in ends
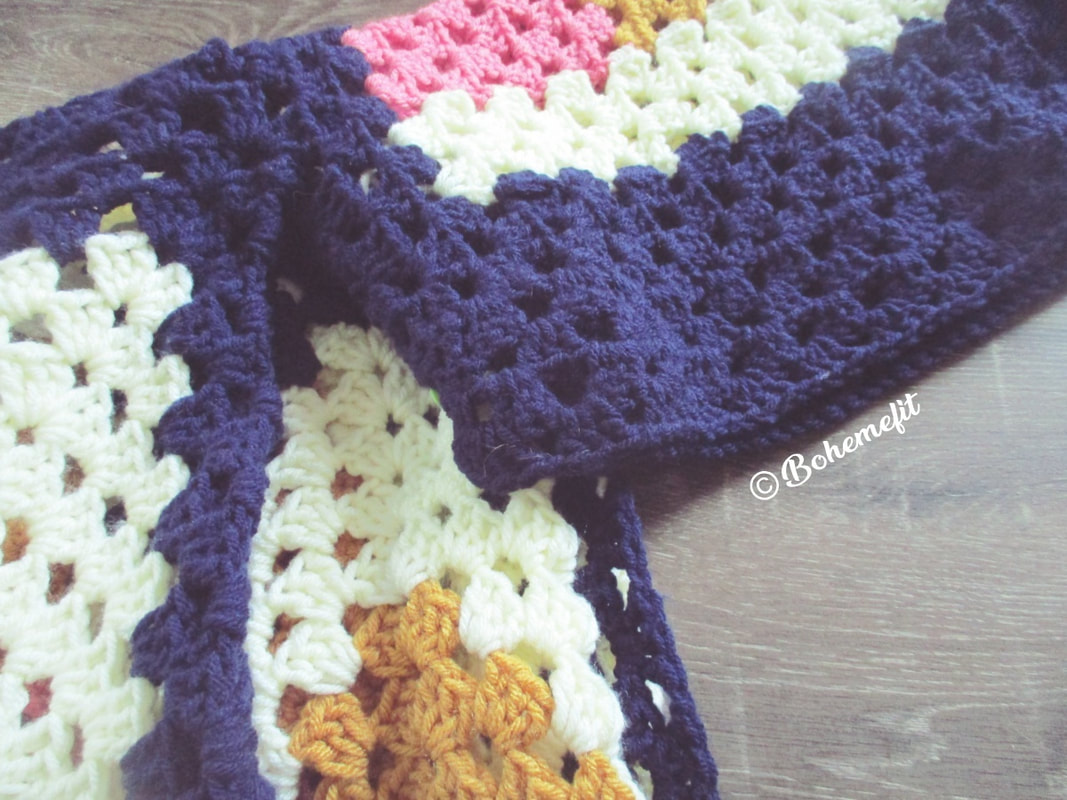
Top of Hood SeamWith wrong side facing sc each stitch together to seam the two sides of the hood together. 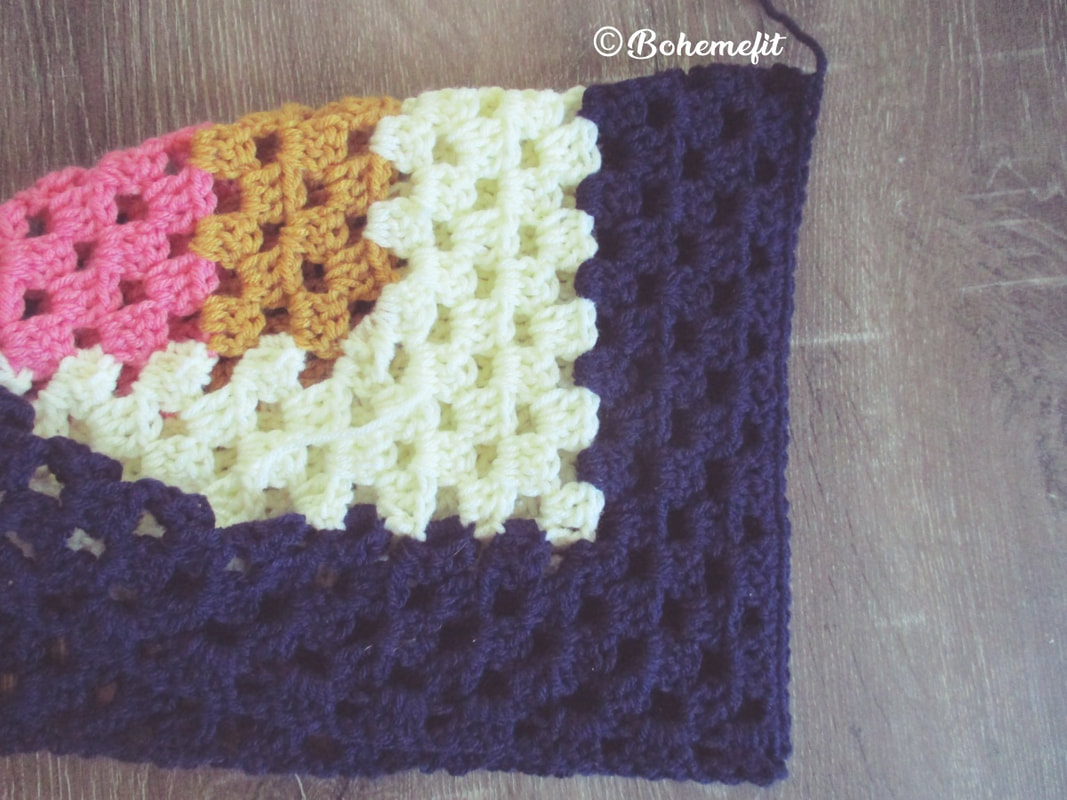 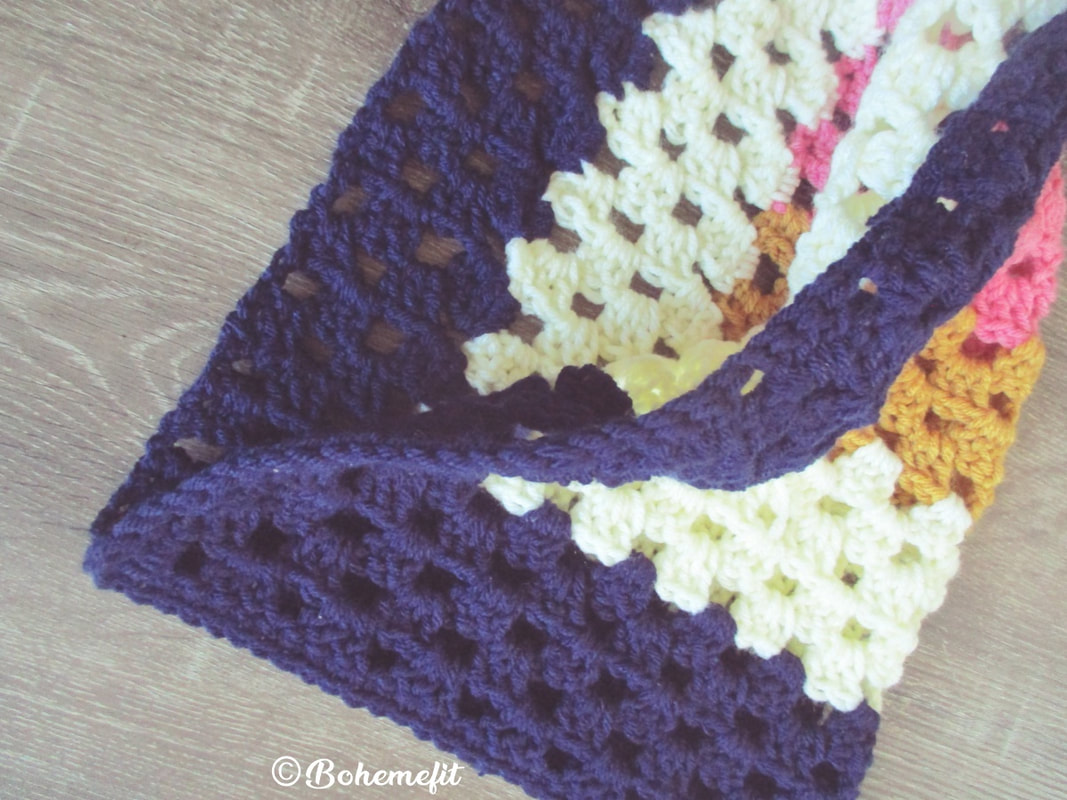 Extra Width and shaping around the faceRows of dc3, ch1 clusters are worked WS, RS, WS with tapers in beginning of rows. Mark the two sides of the hood with stitch markers at the beginning of the two Navy rounds down on either side. The extra width on the hood Rows; 1)Starting WS facing, slip st 1st st, hdc1 into the next, dc1 into the next, ch1 and clusters dc3, ch1 all way to other side, at last 3 stitches dc1 in one, hdc1 in one, sc in one and slip into next 2) Turn to RS facing, sc1 into the next stich over from slip up to hood, *sc1 into the next st* x 2, ch1, dc3 cluster in next ch space to last 3 stitches of round, *Sc1 in next st* x 3, slip into next 3) Turn to WS facing, sc1 into the next stich over from slip up to hood, *sc1 into the next st* x 2, ch1, dc3 cluster in next ch space to last 3 stitches of round, *Sc1 in next st* x 3, slip into next 4) Turn to RS facing, sc1 into the next stich over from slip up to hood, *sc1 into the next st* x 2, ch1, dc3 cluster in next ch space to last 3 stitches of round, *Sc1 in next st* x 3, slip into next
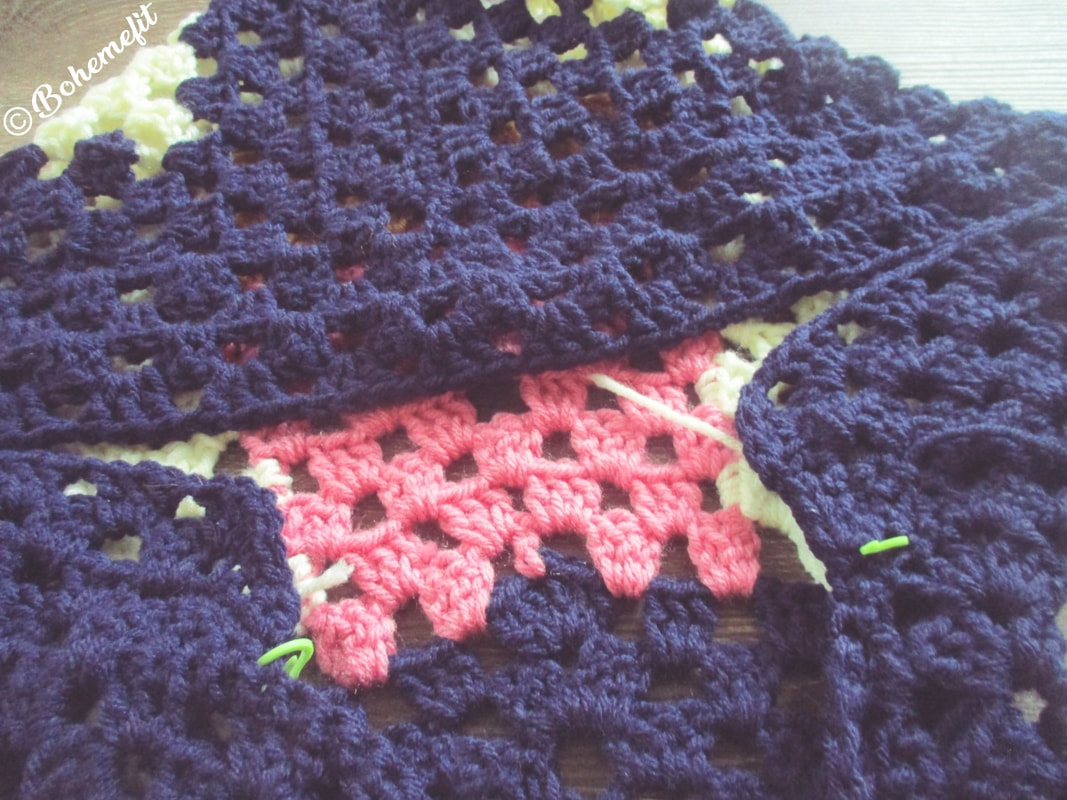  
Seaming collar to Hood edges and Hood decreasesWith wrong side facing, Decrease sc hood round 1) sc1 into each stitch of the mirrored stitches of collar and the base of the hood (6sc stitches), working up the hood seam *sc1 into the next stitch, sc1 into the next 2 stitches together* repeated to to the other side of the hood until the corner of the hood is reached. Seam together the mirrored stitches of the hood and collar as at the beginning of the round (6sc) tie off and sew in ends. Turn With right side facing, Decrease sc hood round 2) sc a stitch down from seamed collar to hood, working back up the hood. *sc1 into the next stitch, sc1 into the next 2 stitches together* repeated to to the other side of the hood until the corner of the hood is reached. Seam together the mirrored stitches of the hood and collar as at the beginning of the round (6sc) DO NOT TIE OFF (In part three a final border will be added to the entire coat margin. 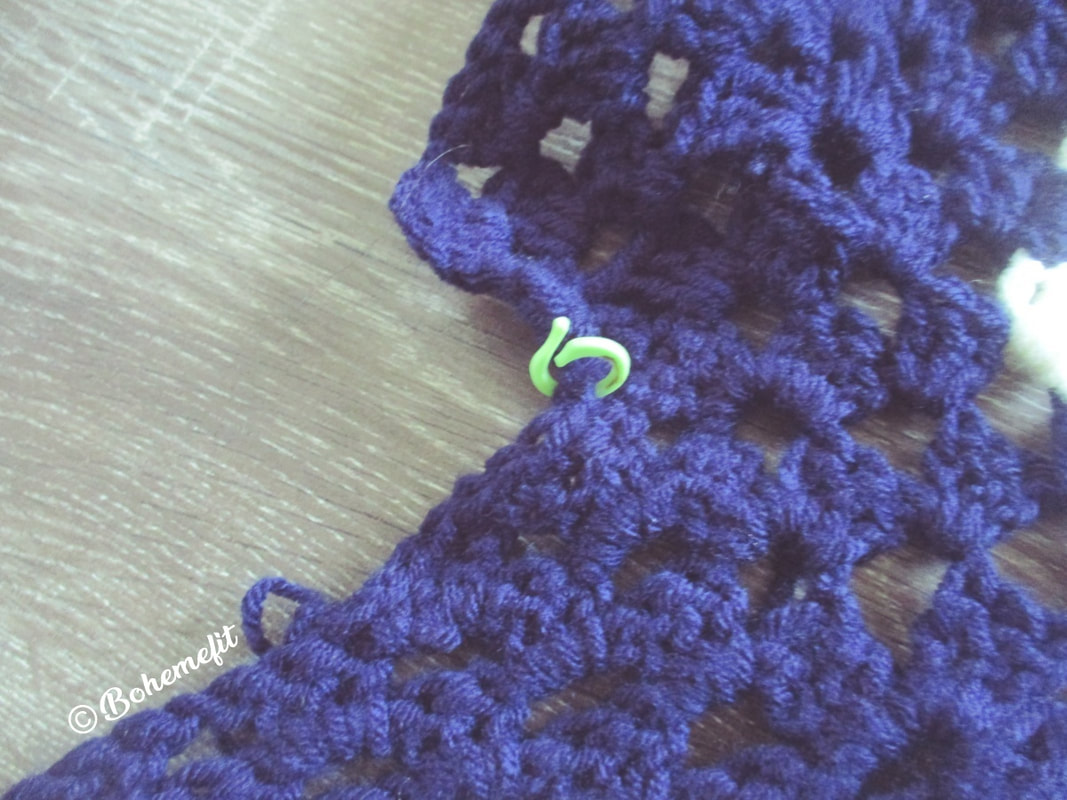 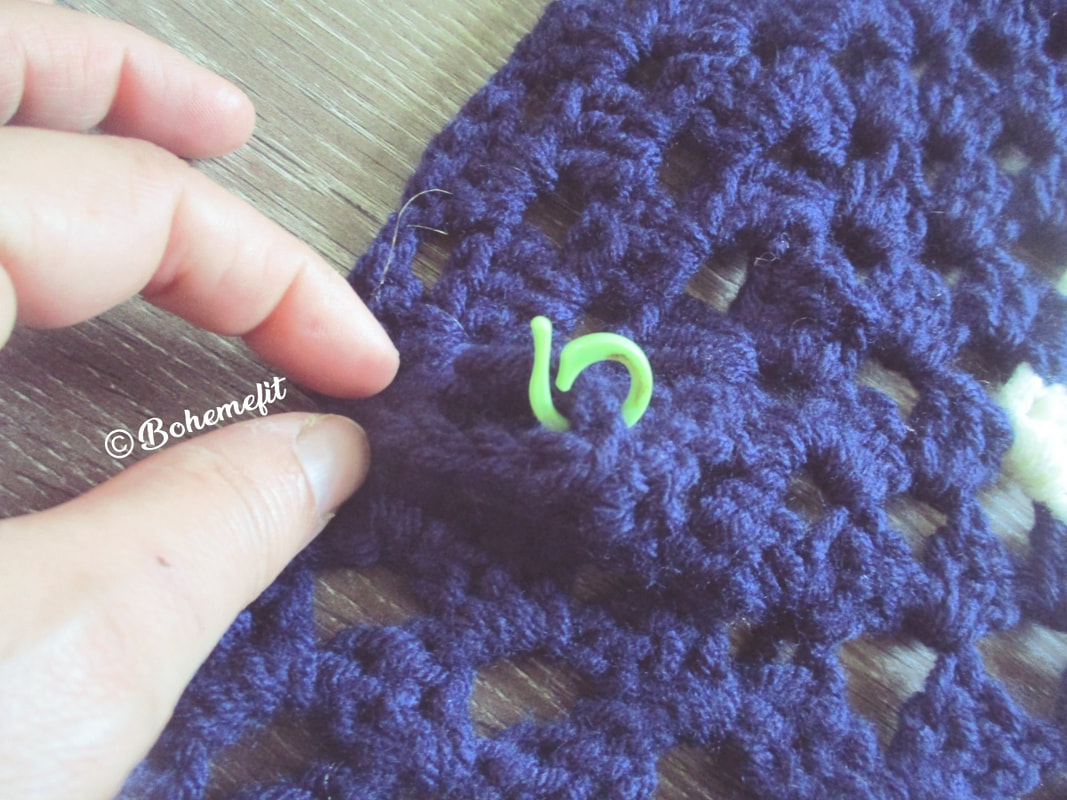 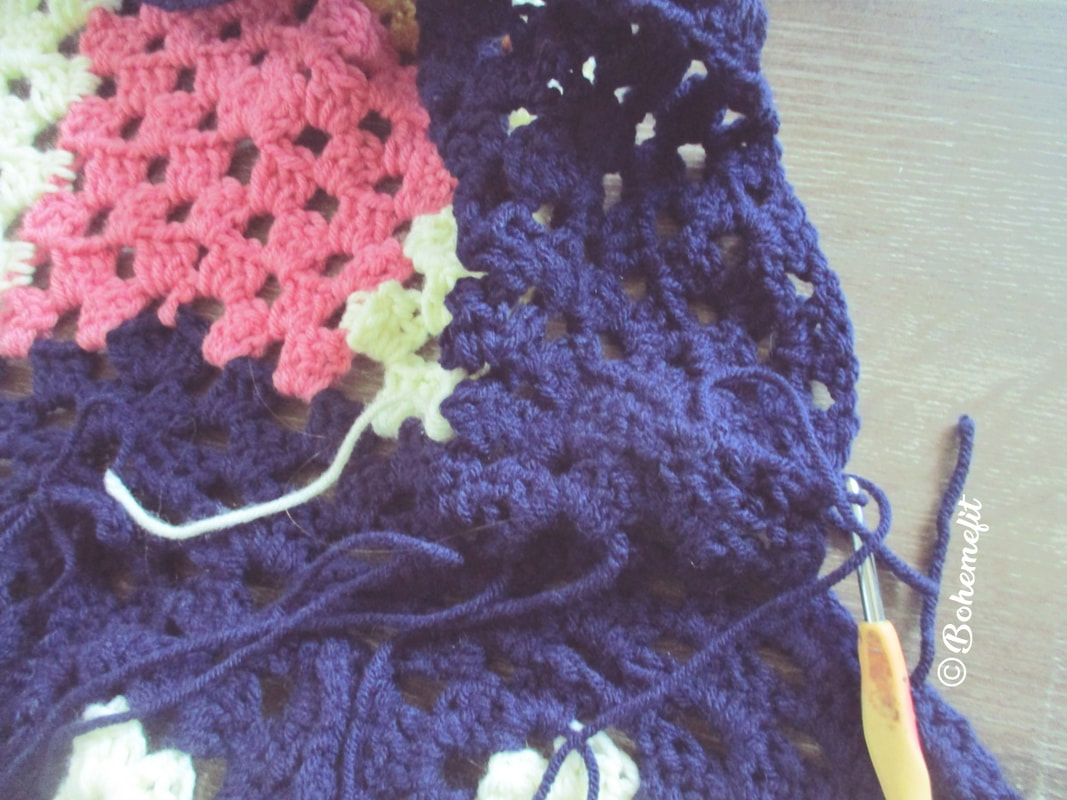 
 FinishSew in all or any ends... Note that in part 3, when the finishing and belt is done in part 3 the hood seam will be slightly more decreased due to slip stitching right side facing. 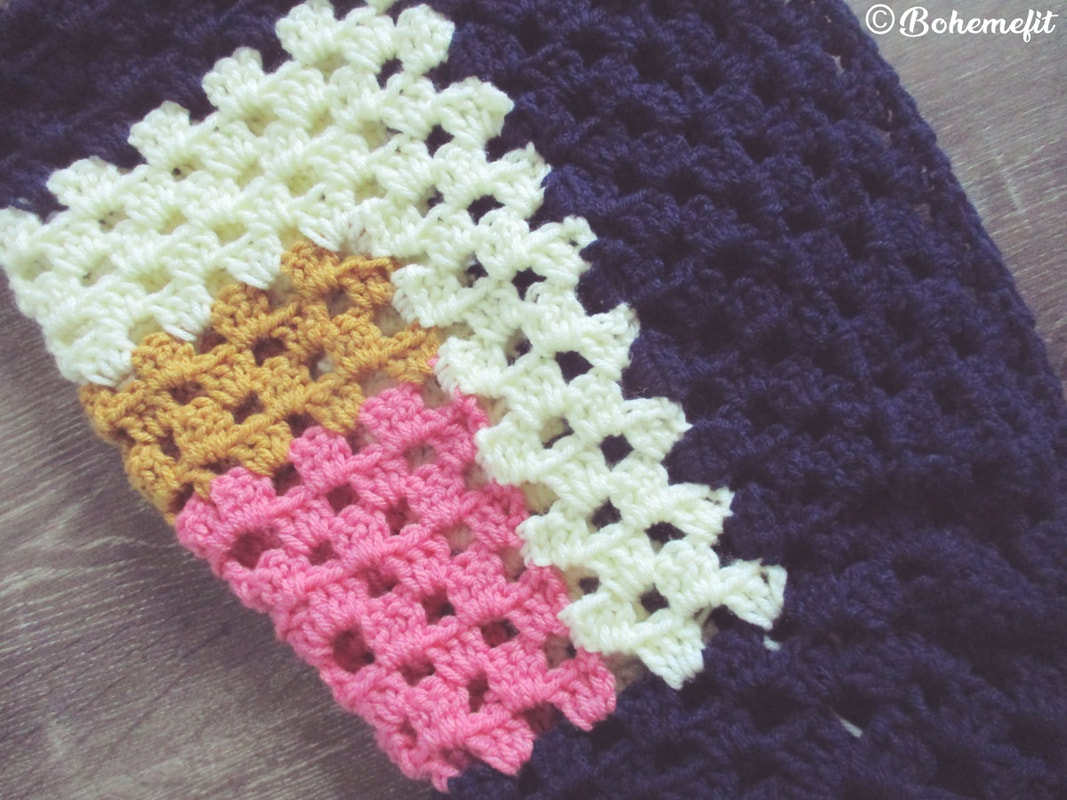 In Closing...Currently I'm working on a colorway called Bella's black Heart, after my Silver Appleyard duck called Bella, who has a black heart... 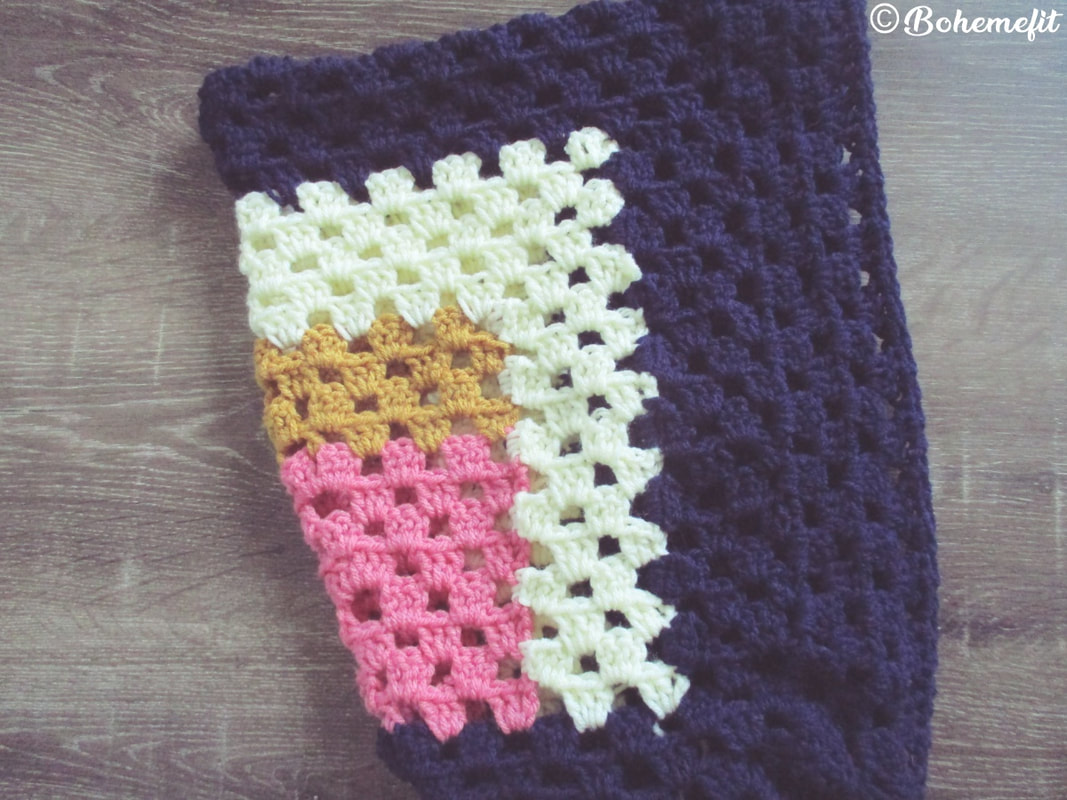 Thank-you for reading, Stay tuned for more... From In Garn Chapter 'Covers'AuthorRavenmor Fox is a Druid & Witch of the old ways, with Maternal and Paternal blood lines to each respective clans, along with being Priestess of the Morrigan, Permaculturist and Horticulturist. Raven loves crafting in ways of manner including with yarn and prepping for self sustainability, aiming to finally get out on an acreage here in the Australian bush someday. More Posts...Support on Youtube...Support my work and don’t miss a vlog post on youtube by signing up to the podcast channel there Support on Pinterest...
Disclaimer: This is not a paid presentation and any opinions are my own as well as not being affiliate in anyway. © Bohemefit
Originally published November 19th 2023-11-19
0 Comments
Your comment will be posted after it is approved.
Leave a Reply. |

© 2014 Bohemefit for Fuerza International. No content or information herein may be used elsewhere on social media, without written permission, yet alone be out of context and or for content on other social media sites.
Social media


Blog Sistersites


Pinterest Sistersites


Archives
December 2023
|
 RSS Feed
